
![]()
Now you run the SalesDB application.
![]() About troubleshooting the application
If you have problems running the application, read the troubleshooting information
in “Troubleshoot the application”.
About troubleshooting the application
If you have problems running the application, read the troubleshooting information
in “Troubleshoot the application”.
Tap the Start Menu on the Pocket PC, and in the Programs menu, select File Explorer.
Navigate to the directory where the SalesDB sample application is installed (\Program Files by default).
Tap SalesDB_tutorial.exe to start the SalesDB application.
When you run SalesDB the first time, the Sync Options window pops up and you can type your MobiLink user name and password.
Using the Soft Input Panel, type 51 in the MLUser text box and leave the MLPassword text box blank.
Click OK.
This automatically launches a synchronization request. Data that is relevant to the employee is downloaded to the Pocket PC after the first synchronization. Any changes made in the SalesDB application will be updated in the consolidated database during the next synchronization.

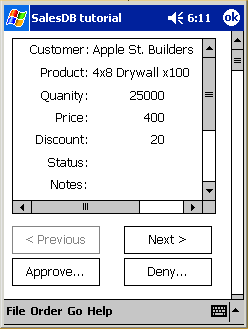
Browse the sales data using the Next and Previous buttons.
Examine the menu items at the bottom: File, Order, Go, and Help.
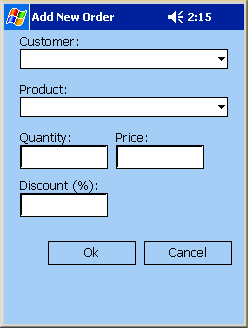
Click the Order menu item to add a new sales order or remove a sales order.

| Copyright © 2004. Sybase Inc. All rights reserved. |

|
|