
![]()
The SalesDB application uses one consolidated database on the PC to store all data. A remote database is placed on the Pocket PC device and data is transferred to the consolidated database using MobiLink synchronization. In this lesson, you set up the ASA databases.
Locate the PocketBuilder 2.0\Tutorial\SalesDB\db directory.
Run MakeDB.cmd.
When the command file finishes running, press any key to continue.
This creates and populates the remote and consolidated databases. The corresponding Data Source Name (DSN) entries are also be created.
![]() Use ASA 9
The MakeDB.cmd file automatically detects the version of ASA
running on your machine. If you have old versions of ASA installed,
it uses the most recent version. Make sure the new version is at
the beginning of the system path. You should use ASA 9 for this
lesson. If you just installed SQL Anywhere Studio and the script
does not run, you might need to reboot your machine. The script
requires the proper SQL Anywhere environment variables to be set.
Use ASA 9
The MakeDB.cmd file automatically detects the version of ASA
running on your machine. If you have old versions of ASA installed,
it uses the most recent version. Make sure the new version is at
the beginning of the system path. You should use ASA 9 for this
lesson. If you just installed SQL Anywhere Studio and the script
does not run, you might need to reboot your machine. The script
requires the proper SQL Anywhere environment variables to be set.
Now you verify that the databases are created correctly.
From the Start Menu, select Programs>Sybase>SQL Anywhere 9> Sybase Central.
Select Tools>Connect and then select Adaptive Server Anywhere 9 and click OK, or right-click Adaptive Server Anywhere 9 and click Connect in the popup menu.
Select the ODBC Data Source name radio button.
Click Browse and select SalesDB, and then click OK.

Click the Advanced tab and make sure the iAnywhere JDBC driver radio button is selected.
Click OK.
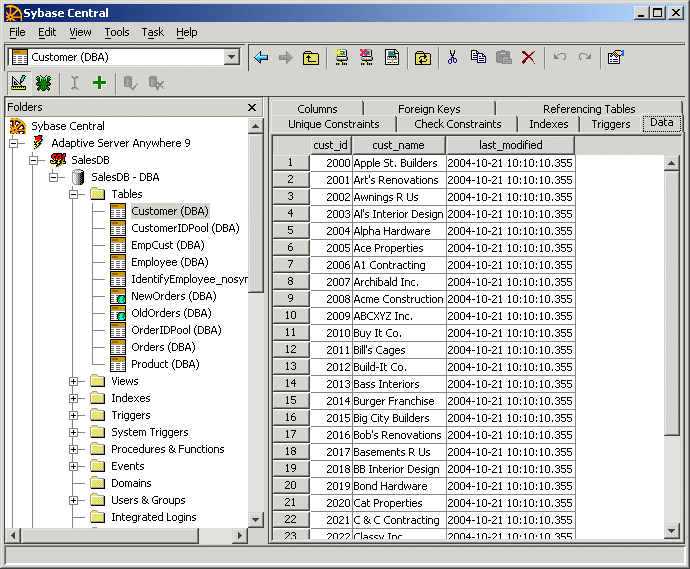
Verify that the SalesDB tables are created and sample data is provided by opening the Tables node, selecting a table, and clicking the Data tab.

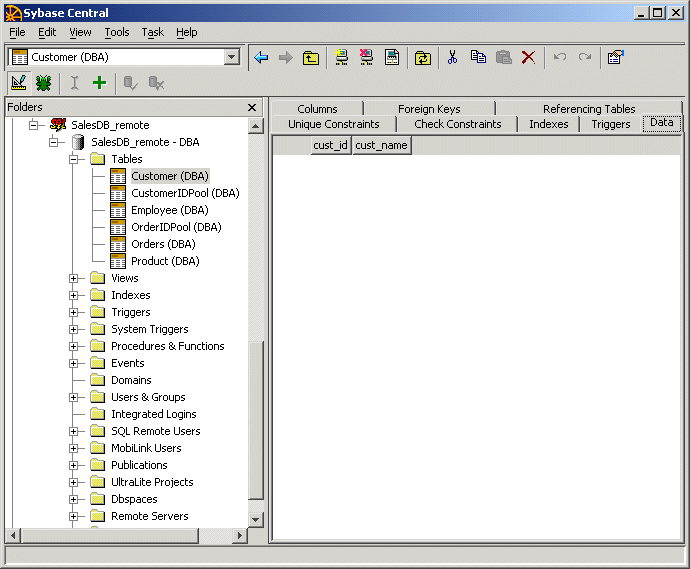
Repeat steps 4-7 for the SalesDB_remote remote database.
Notice that there is no data populated for this database.

Data will be transferred to this database during the first synchronization.
The consolidated database contains the synchronization scripts that are used by MobiLink. Now you verify that the scripts are created correctly.
In Sybase Central, select Tools>Connect.
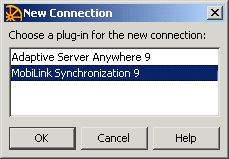
Select MobiLink Synchronization 9 and click OK.

Select the ODBC Data Source name radio button and select SalesDB.
Select the Advanced tab and make sure the iAnywhere JDBC driver radio button is selected.
Click OK.
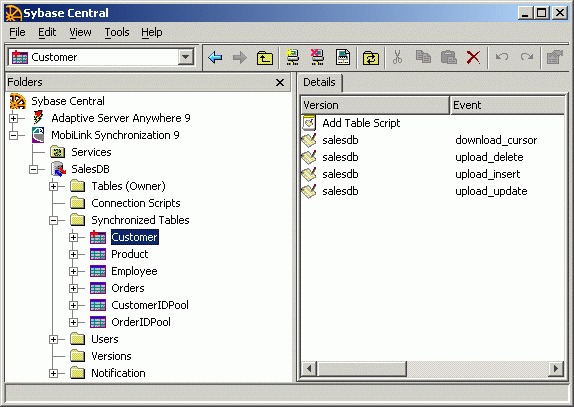
Expand the Synchronized Tables node and select Customer.

Double-click the salesdb in the Version column next to the download_cursor event.
The script should read: SELECT cust_id, cust_name FROM Customer WHERE last_modified > ?
This query downloads data that has changed since the last synchronization from the consolidated database to the remote database.
For the upload stream, there are three events: upload_insert, upload_update, and upload_delete.
Double-click the salesdb in the Version column next to upload_insert.
The script should read: INSERT INTO Customer (cust_id, cust_name) VALUES ( ?, ? )
This query inserts any new customers from the remote database into the consolidated database.
Repeat the previous step for the upload_update event.
Repeat it again for the upload_delete event. View the related SQL synchronization scripts.
![]() How orders are handled
The synchronization scripts include a call to a stored procedure
that handles orders that have been modified in the remote database.
Every approved order is removed from the remote database upon synchronization.
How orders are handled
The synchronization scripts include a call to a stored procedure
that handles orders that have been modified in the remote database.
Every approved order is removed from the remote database upon synchronization.
Exploring how these scripts are made is beyond the scope of this lesson. For more information about synchronization scripts, see the MobiLink documentation.
Close Sybase Central.
| Copyright © 2004. Sybase Inc. All rights reserved. |

|
|