

![]()
Now you generate a MobiLink connection for the remote application using the MobiLink Synchronization wizard.
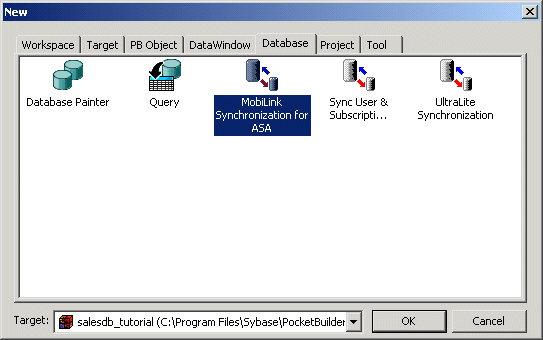
Select File>New.
In the Database tab, select MobiLink Synchronization for ASA.
Click OK.
Read the first overview screen.
Click Next.
Read the second screen to learn about what the wizard provides.
Click Next again.
Click Next to accept salesdb_tutorial.pkl as the default library for storing the generated MobiLink objects.
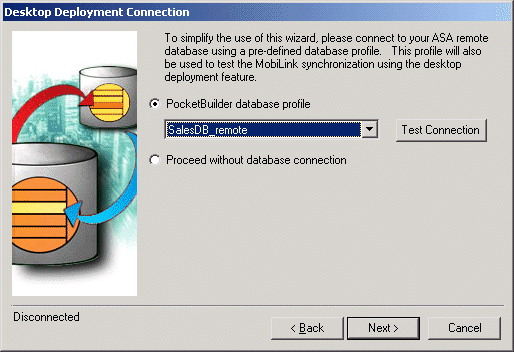
Select SalesDB_remote from the drop-down menu.
Click Test Connection to ensure the DSN is in working order.
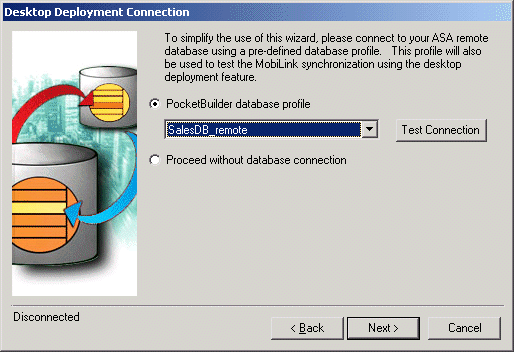
A Connection successful message should display in the lower-left corner of the wizard page. If it does not, verify that the DSN is correctly configured in PocketBuilder and the ODBC Administrator. The ODBC Administrator is located in the Objects view of the Database painter in the ODB ODBC utilities.
Click Next.
Choose Browse and then select SalesDB_remote.DSN in the \Tutorial\SalesDB directory.
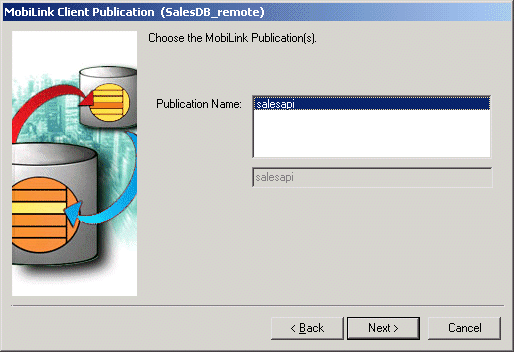
Click Next to display the wizard page that shows the publications in the ASA remote database.
Select the salesapi publication.
Click Next.
Click Next to accept the default names for the generated MobiLink objects.
In the Mobilink Client Display Options window, keep the default option so the wizard will generate a PocketBuilder window to show synchronization status.
Click Next.
The Optional Runtime Configuration Objects wizard lets you specify objects that allow users to change synchronization settings at runtime. For end-users, you should usually disable this option or deploy a minimal subset of the generated windows.
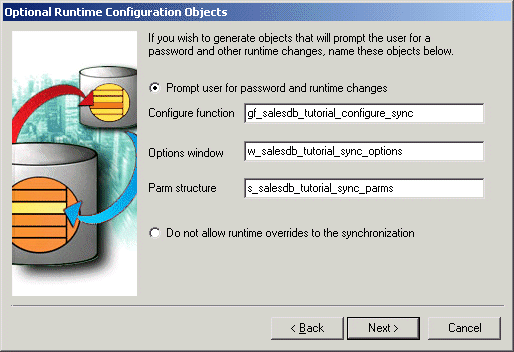
To demonstrate the full functionality of the wizard, click Next to accept the default selections and generate the synchronization options objects.
The MobiLink wizard stores synchronization information for each MobiLink user in the Windows registry on the device and on the desktop. The Override Registry Settings wizard page lets you specify how PocketBuilder adds or modifies registry settings when redeploying and configuring end-user applications.
In the Override Registry Settings wizard page, keep all the default values and then click Next.
The MobiLink Client Logging Options page displays.
Check the Show all except -vc and -vp (-v+) check box.
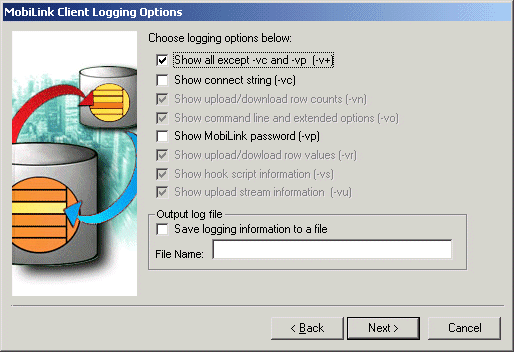
This wizard page determines the amount and type of information shown in the MobiLink status window during synchronization.
Click Next.
The MobiLink Client Additional Options page allows you to include additional MobiLink command line options or extended options and assign the MobiLink host and port.
Table-locking in ASA 9 significantly reduces data transfer times, so for your application to function properly, you set the LockTable (lt) options to share.
In the Extended Options text box, type the value lt=share.
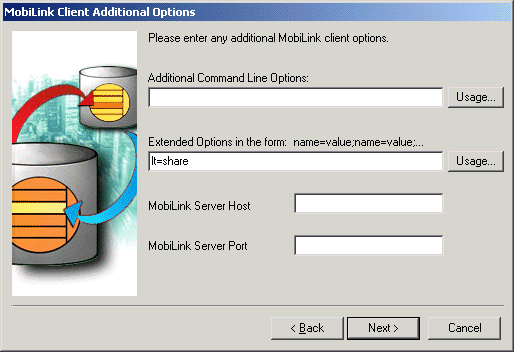
Click Next.
The last wizard page contains a summary of your choices, including the default selections. If you need to, you can go back and change any options that are incorrect.
Click Finish to generate the MobiLink synchronization components in your project.
The MobiLink Synchronization wizard creates the following synchronization objects:
Synchronization object |
Description |
|---|---|
nvo_salesdb_tutorial_sync |
Non-visual user object that controls the MobiLink synchronization client. |
gf_salesdb_tutorial_sync |
Global function that creates the user object and initiates synchronization requests. |
s_salesdb_tutorial_sync_parms |
Structure that stores the MobiLink command line parameters. (All the variables accessible from the wizard are MobiLink command line options.) |
gf_salesdb_tutorial_configure_sync |
Global function that handles a user request to change the synchronization options and stores the values in the Windows/Windows CE registry. |
The MobiLink Synchronization wizard also creates two windows:
Window |
Use |
|---|---|
w_salesdb_tutorial_sync |
Displays the synchronization status information |
w_salesdb_tutorial_sync_options |
Sets synchronization options at runtime |
Now you enable the w_salesdb_tutorial_sync_options Sync Options window in the Menu painter.
Double-click m_salesdb in the System Tree to open the Menu painter.
In the tree view of the menu, expand the File menu and double-click the Sync Options… menu item.
Check to be sure that the drop-down lists at the top of the Script view display the clicked( ) event for the m_file.m_syncoptions object.
If not, select that object and event from the drop-down lists.
Type the following code in script view:
// Open the Sync Options window
gf_salesdb_tutorial_configure_sync()

// Fetch data
f_refresh_orders(-1)
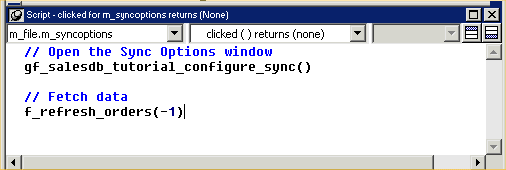
Next, to enable synchronization when the user clicks Synchronize in the File menu, you add a call to the gf_salesdb_tutorial_sync global function.
In the Menu painter’s tree view, double-click Synchronize.
Make sure the drop-down menu at the top of the script view displays the clicked() event for the m_file.m_synchronize object.
Type the following code in script view:
// Start synchronization
if gf_salesdb_tutorial_sync(string(::g_emp_id),
"") <> 0 then
	MessageBox("Error", " MobiLink Synchronization Error.“)
				End if

// Fetch data
f_refresh_orders(-1)

Select File>Save to save the changes.
Close the Menu painter.
| Copyright © 2004. Sybase Inc. All rights reserved. |

|
|