![]()
Now you create the basic form. To do this you select a predefined InfoMaker form style and the data to be displayed in the form.
Click the New button in the PowerBar.

The New dialog box displays.
Select the Object tab if it is not already on top.
The Object tab page contains the icon for creating any type of new form and icons for the various report presentation styles.
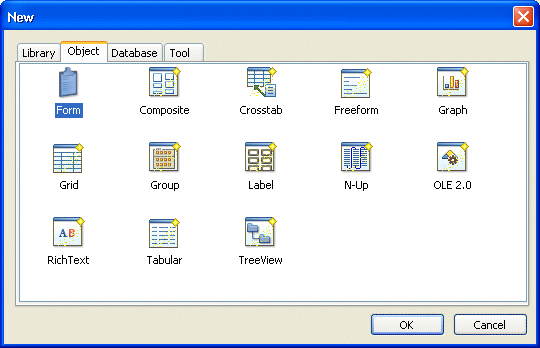
Select the Form icon and click OK.
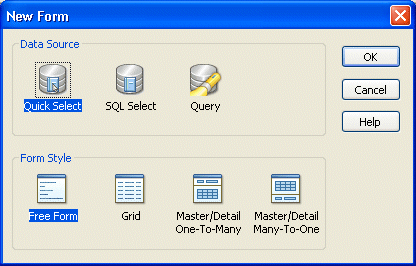
The New Form dialog box displays. It contains the data sources and form styles you can choose.
![]() About data sources
Quick Select is simply for choosing
columns and specifying selection criteria and sorting, which is
what you want for this tutorial.
About data sources
Quick Select is simply for choosing
columns and specifying selection criteria and sorting, which is
what you want for this tutorial.
SQL Select is for using other SQL options not available with Quick Select.
Query is for specifying the name of a query that describes the data source. You define queries in the Query painter.
![]() About form styles
A form style is a predefined way of presenting and processing
information on the form. Usually the style includes the common database
functions (insert, delete, and update).
About form styles
A form style is a predefined way of presenting and processing
information on the form. Usually the style includes the common database
functions (insert, delete, and update).
InfoMaker comes with a set of form styles. PowerBuilder® users at your site can create additional styles, which also display in the New Form dialog box.
Click Quick Select and Free Form to select them (the words are highlighted).
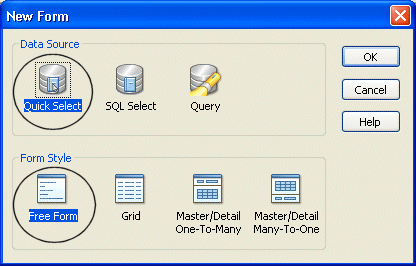
Click OK.
The Quick Select dialog box displays. In this dialog box you select the table to use and the columns you want to include in the form.
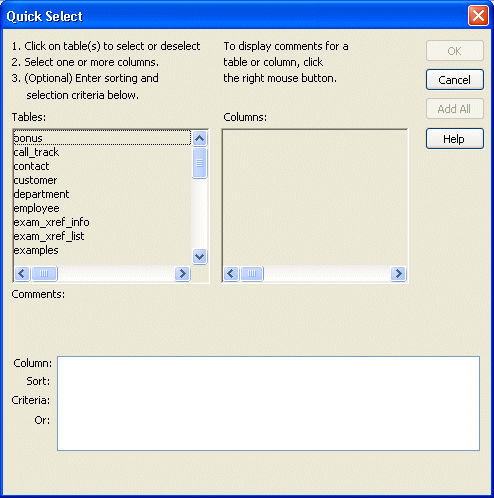
Click contact in the Tables box.
The columns for the contact table display. You include all columns in the form.
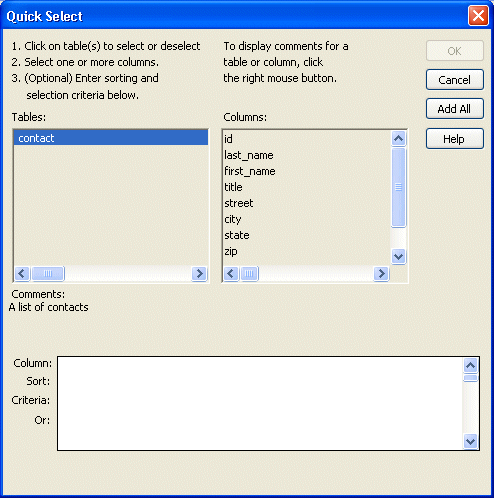
Click the Add All button.
All columns are selected. They display in a grid at the bottom of the dialog box.
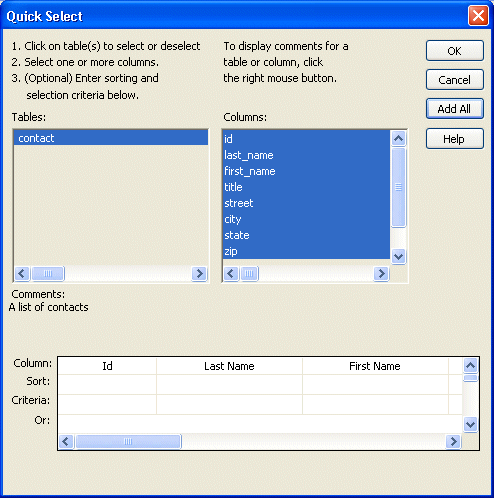
You could reorder columns and enter sorting and selection criteria in this grid. For your form you do not need to do any of these things.
Click OK.
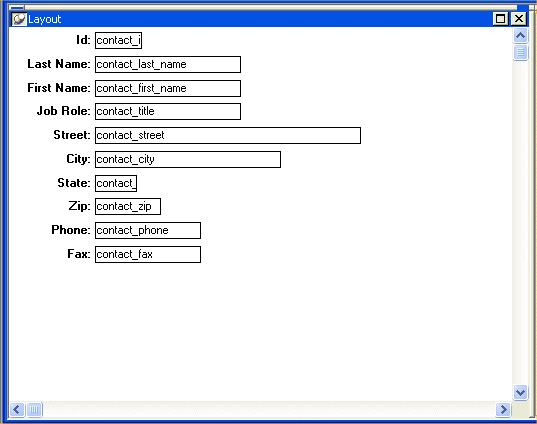
Your form displays. It uses the columns and form style you selected. The text labels come from the extended attribute system tables. Instead of data, the names of the database columns appear where the data values will be displayed.
![]() The extended attribute system tables
The extended attribute system tables store information about
data such as labels and display formats. When you create forms and
reports, InfoMaker uses extended attribute information to create
the basic form or report.
The extended attribute system tables
The extended attribute system tables store information about
data such as labels and display formats. When you create forms and
reports, InfoMaker uses extended attribute information to create
the basic form or report.
You put information into the extended attribute system tables using the Database painter. For example, in the Table tutorial you define the label Job Role: for the title column. Then when you use the title column in a form or report, InfoMaker uses the label Job Role:.