![]()
In this lesson you create a new Web page, Addproduct.jsp, that uses the Web DataWindow container you just created.
Right-click the Customer target in the System Tree and select New from the pop-up menu.
Click the Web tab in the New dialog box.
Double-click the Web/JSP DataWindow Page icon.
Click Next on the first wizard page.
The Specify New JSP File page displays.
Type Addproduct in
the Title text box and click Next twice.
The file name changes automatically to use the text you typed for the page title. Addproduct.jsp is now the name of your Web page file. In this exercise, you do not specify a style sheet for the new page.
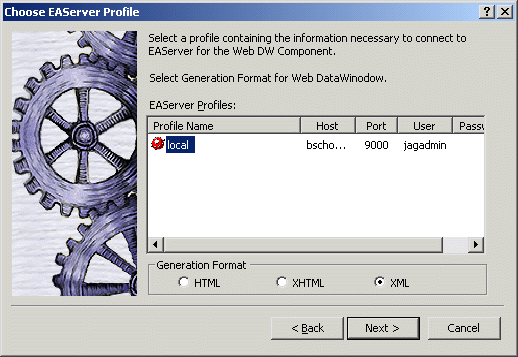
Select the local EAServer profile, if it is not already selected.
Select the XML generation format.
Click Next.
![]() About the XML Web generation format
The Web DataWindow is a thin-client DataWindow implementation
for Web applications that can be implemented in XML (separate XML content,
XSLT layout, and CSS style with a subsequent transformation to XHTML),
XHTML directly, or HTML. You use the XML Web DataWindow when you
want industry-standard Web pages and the ability to customize pages
using an XHTML export template.
About the XML Web generation format
The Web DataWindow is a thin-client DataWindow implementation
for Web applications that can be implemented in XML (separate XML content,
XSLT layout, and CSS style with a subsequent transformation to XHTML),
XHTML directly, or HTML. You use the XML Web DataWindow when you
want industry-standard Web pages and the ability to customize pages
using an XHTML export template.

The Choose Web DW Component Type page displays.
Select the Web DW Container radio button and click Next.
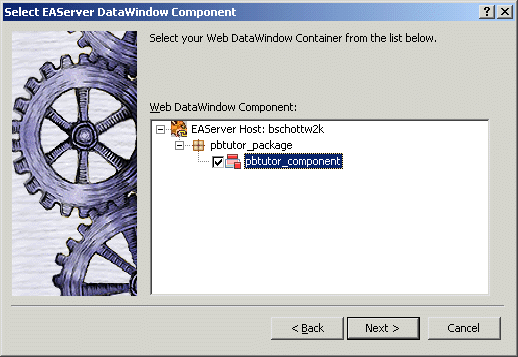
The Select EAServer DataWindow Component page displays.
Expand the items below the local server.
Under pbtutor_package, select the pbtutor_component.

Click Next.
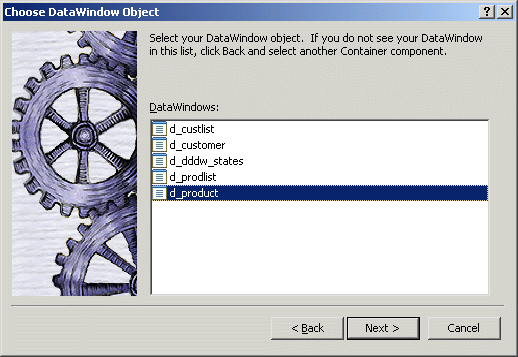
The Choose DataWindow Object page displays.
Select d_product.

Click Next.
Click Finish to accept your selections.
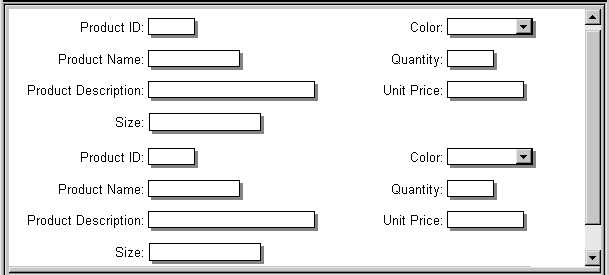
The Addproduct.jsp Web page displays in Page view.

The name of the Web DataWindow is webDW. This is the default name for a DataWindow control on a page that is not a 4GL page.