![]()
![]()
![]()
![]()
![]()
You can now test the new Web page and see if you can add a product to the database. If this is successful, you can run the complete Web application, starting from the Login page.
In this exercise, you:
Before you test your Web application, it is useful to first test the Addproduct.jsp Web page to see if you can add a product. To do this, you can temporarily change the start page for the Customer target from Login.jsp to Addproduct.jsp and then deploy and run the target.
In the System Tree, right-click Customer.
Select Properties from the pop-up menu.
The Properties of Target Customer dialog box displays.
Click the Run tab and click the browse (...) button.
Make sure the Target tab of the Choose URL dialog box displays.
Select Addproduct.jsp from the Contents of Customer list box and click OK twice.
Check to see that your local EAServer is running.
EAServer is a Web server as well as a component transaction server.
In the System Tree, right-click Customer.
Select Deploy from the pop-up menu.
If PowerBuilder prompts you to save the Addproduct page, click Yes.
The Output window opens and displays informational messages as the target is built and deployed.
Select Run>Run Customer from the PowerBuilder menu.
Your default browser opens. The URL address box contains the file path for the Addproduct.jsp Web page.
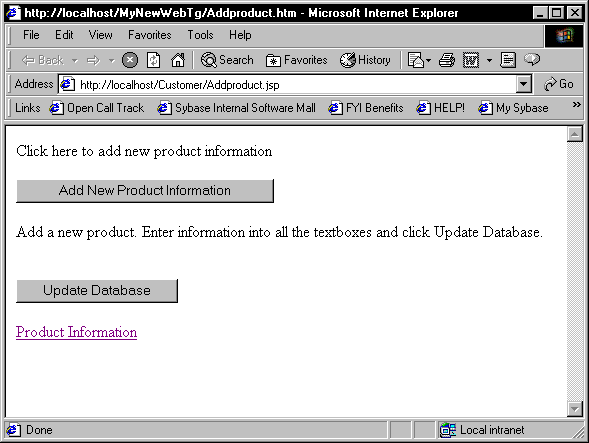
Next you add new product information using this Web page.
Next you add new product information and update the database with the new information.
Click the Add New Product Information button on the Addproduct.jsp page.
The Web page is reloaded and an empty Web DataWindow row displays.
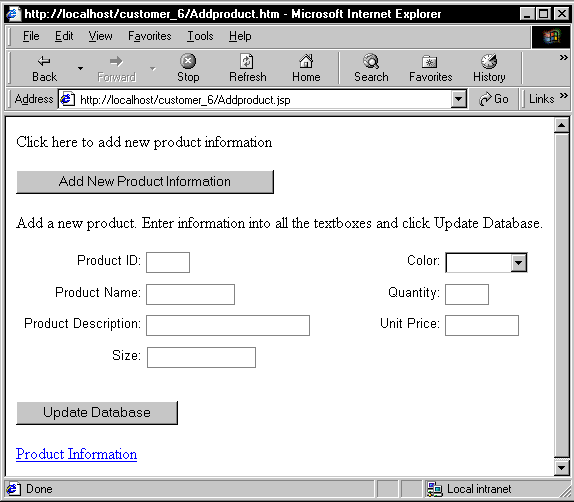
Type the following information in the Web DataWindow:
Text box |
Value |
|---|---|
Product ID |
9999 |
Product Name |
Shirt |
Product Description |
Denim shirt |
Size |
Large |
Color |
Blue (select from drop-down list) |
Quantity |
6 |
Unit Price |
27.95 |
Click the Update Database button.
This information is now in the database. You review the information next.
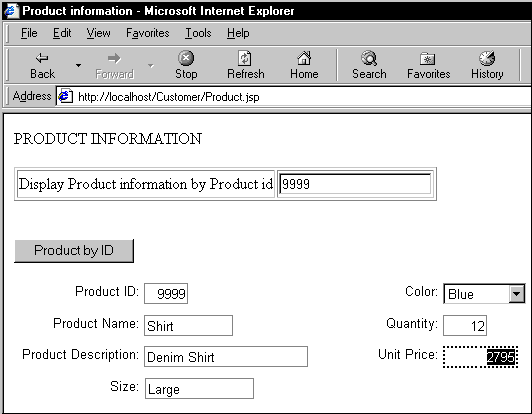
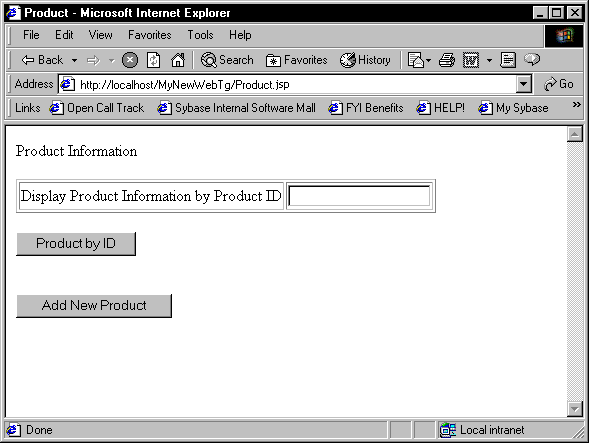
Click the Product Information hyperlink.
The Product.jsp page displays.
Type 9999 in
the Display Product information by Product ID text box.
Click the Product by ID button.
The Product.jsp Web page is reloaded with the product information you entered in the previous exercise.
You have completed the development of your Web application. Now you change the start page back to the Login.jsp page, redeploy, run, and test the Web application.
In the System Tree, right-click Customer.
Select Properties from the pop-up menu.
The Properties of Target Customer dialog box displays.
Click the Run tab and then click the browse (...) button.
Click the Target tab in the Choose URL dialog box.
Select Login.jsp from the Contents of Customer list box and click OK twice.
Check to see that your local EAServer is running.
In the System Tree, right-click Customer.
Select Deploy from the pop-up menu.
When the Output window indicates that deployment is complete, you can run the application.
Click the Run button in the PowerBar.
Your default browser displays the Login.jsp page.
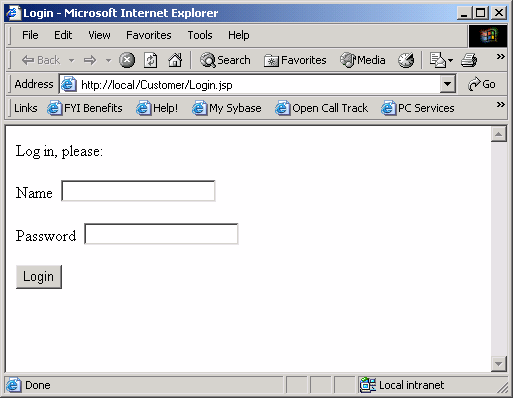
Type your first name in both the Name and Password text boxes.
Click the Login button.
The Welcome page displays.

Click the View Product Information hyperlink.
The Product Information Web page (Product.jsp) displays.
Click the Add New Product button.
The Addproduct.jsp page displays.

Click the Add New Product Information button.
The Web DataWindow displays with an empty row.
Type the following information in the Web DataWindow:
Text box |
Value |
|---|---|
Product ID |
4321 |
Product Name |
Tee Shirt |
Product Description |
Cotton tee shirt |
Size |
Small |
Color |
White (select from drop-down list) |
Quantity |
100 |
Unit Price |
15.95 |
Click the Update Database button.
Click the Product Information hyperlink.
The Product.jsp page displays.
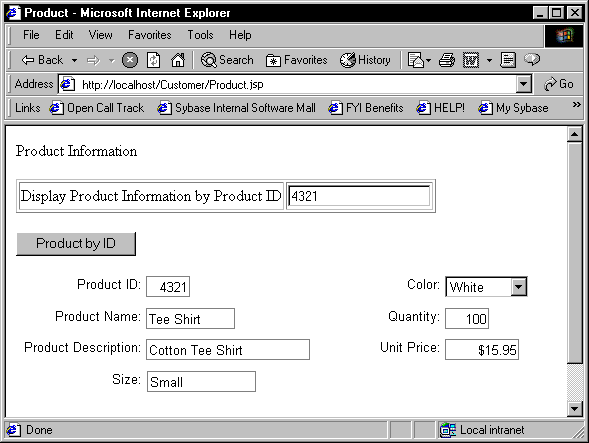
Type 4321 in
the Display Product information by Product ID text box.
Click the Product By ID button.
The Product.jsp Web page is reloaded with the product information you just entered.
Close the Browser.
