![]()
If PocketBuilder is not running, from the Start Menu, select Programs>Sybase>PocketBuilder 2.5> PocketBuilder IDE to start PocketBuilder.
Before you start developing the SalesDB application in PocketBuilder, you must specify how to connect to the database by creating a database profile. Since SalesDB is an application for the Pocket PC, you create a database profile only for the remote database.
Select Tools> Database Profile.
Select ODB ODBC in the list box and then click the New button.
The Database Profile Settings dialog box displays.
Type SalesDB_remote for the Profile Name.
Select SalesDB_remote for the Data Source.
Uncheck User ID and Password (since they are provided by the DSN file on the Pocket PC device).
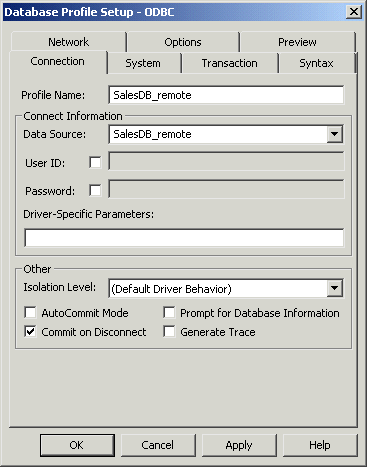
Select the Preview tab to examine the database connection syntax.
The Preview tab also has a Test Connection button you can click to test the connection.
Click OK to return to the Database Profiles painter, expand the ODB ODBC, select SalesDB_remote, and click Connect.
The SQL Anywhere remote database starts and a connection is established. You can verify this by selecting Tools>Database Profile from the menu bar. SalesDB_remote should have a green check mark next to it.
Now you set up the Sales database workspace.
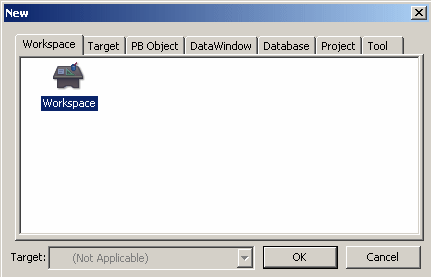
Select File>New from the PocketBuilder menu bar.
On the Workspace tab, select Workspace and click OK.
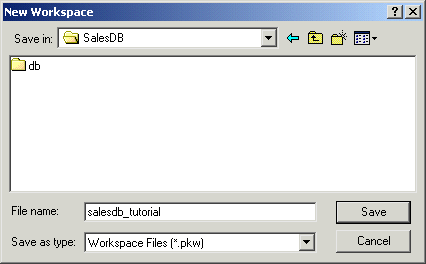
Save the new workspace as salesdb_tutorial in
the \PocketBuilder 2.5 \Tutorial\SalesDB
directory.
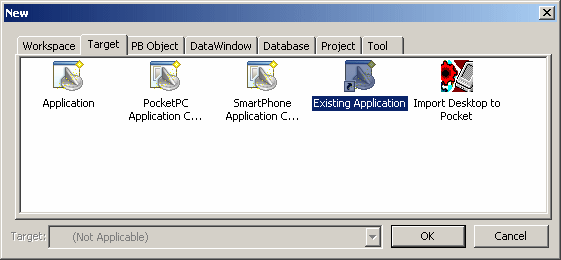
Select File>New and then in the Target tab, select Existing Application and click OK.
Locate and expand salesdb_tutorial.pkl in the \Tutorial\SalesDB directory.
Select the salesdb_tutorial application object and then click Next.
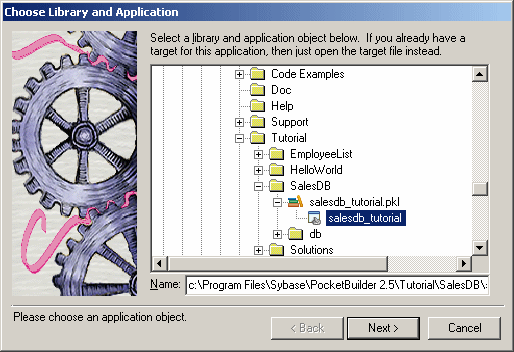
Click Next again and then click Finish to accept the default locations.
If prompted, click Yes to migrate the existing application to the latest version.
The existing SalesDB application is now ready to be modified. Next you create a function called f_conn to handle the connection code.
Select File -> New from the menu bar.
In the PB Object page, select Function and then click OK.
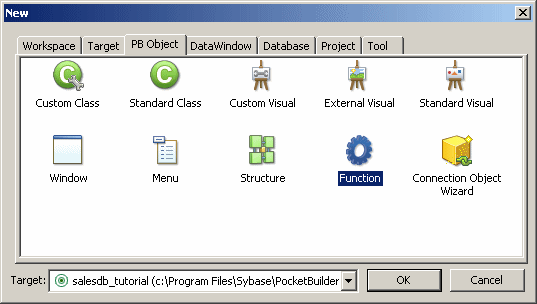
The Function painter opens. You use the Function painter to define and code the new f_conn function.
Select (None) at the bottom of the drop-down list for the return type.
Type f_conn for
the function name.
Do not include an argument name or a Throws statement.
In the script view (the code editor below the function properties), type the following code on separate lines:
sqlca.dbms='odb'
sqlca.dbparm="ConnectString='DSN=SalesDB_remote'"
// establish DB connection
connect using sqlca;
The SalesDB_remote.DSN file establishes a connection to the SalesDB_remote.DB database. Later in this tutorial, you deploy the DSN file to a device, but on the desktop, the connection string finds the ODBC profile of the same name (SalesDB_remote) that you created earlier in this lesson.
Here is what the definition of your new f_conn function should look like:
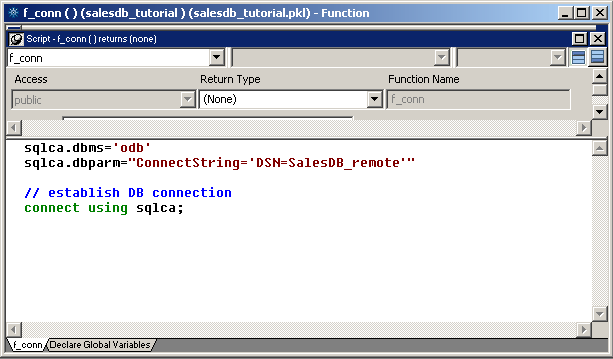
Select File>Save, then OK, to save the f_conn function.
Close the Function painter.
Expand salesdb_tutorial.pkl in the System Tree in the file.
In the System Tree, you can see the f_conn function that you just created.
The f_conn function is used when the application first starts. It is called from the ue_postopen event inside the salesdb_tutorial application. The database connection is established in this event and any connection error is reported to the user. The database connection is closed when the application terminates and is handled by the f_disconn function that is provided for you.
Next you create a DataWindow to access sales data in your application.