![]()
Now you create a new target using the PocketPC Application Creation Wizard. Based on the choices you make, the wizard creates precoded events, menus, windows, and user objects in addition to the application object.
![]() About the Smartphone Application Creation Wizard
To deploy an application to a Smartphone instead of a Pocket
PC, you would use the Smartphone Application Creation Wizard.
About the Smartphone Application Creation Wizard
To deploy an application to a Smartphone instead of a Pocket
PC, you would use the Smartphone Application Creation Wizard.
Select New from the File menu and click the Target tab
or
Right-click basic_tutorial in the System Tree, select New from the pop-up menu, and click the Target tab.
The Target page of the New dialog box displays.
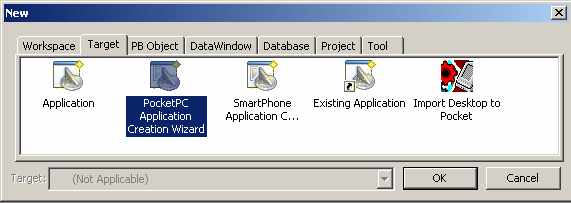
Select the PocketPC Application Creation Wizard icon and click OK.
The PocketPC Application Creation Wizard displays. In most wizards, the first page explains what the wizard is used for. As you step through the wizard, you can press F1 to get Help on most fields.
Click Next until the Specify New Application and Library page displays.
Type basic_tutorial in
the Application Name text box.
When you click Next (or you click in the Library or Target text box), the wizard will automatically assign file names to a library and target that use this application name. It assigns the library a PKL extension and the target a PKT extension.
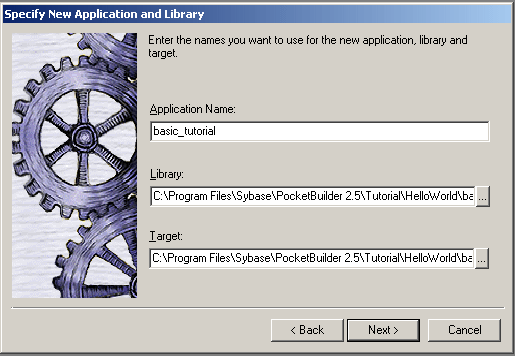
Click Next until the Specify Connectivity page displays.
Select None for the Connection Options if it is not already selected.
You accept the default library search path and window and menu names. This lesson does not require database connectivity. (You could add a connection object later if you wanted to.)
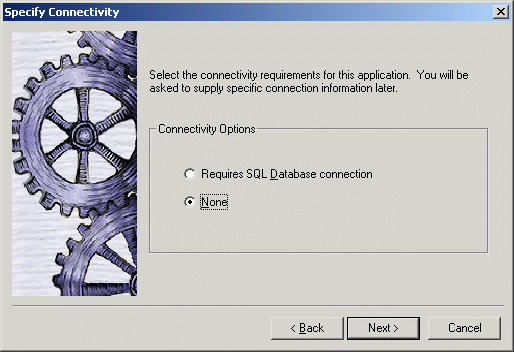
Click Next.
The Specify Project Object page displays.
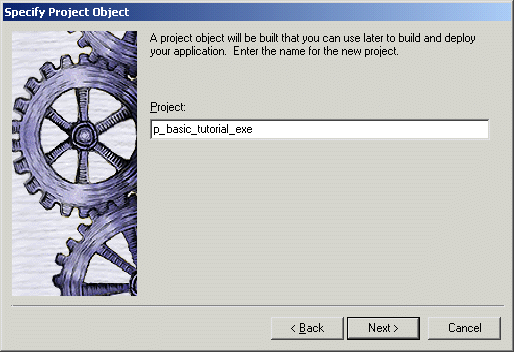
The wizard will create a project object that you can open in the Project painter. The Project painter allows you to streamline the generation of the files your target needs, to create an executable for desktop deployment, and rebuild your application easily when you make changes to the application.
Click Next until the Specify Deployment Configuration page displays.
You accept the default names for the project name and the executable file name and you do not choose to build dynamic libraries.
You will also now accept the default directories in the Specify Deployment Configuration wizard page. The Target directory (with a default of \Program Files) is the directory on the device or emulator where you want to deploy your application. The Build directory is the directory where you want to build your application. The default “.” is the directory that contains the main PocketBuilder application library.
![]() Target directory for a Smartphone
If you were creating a Smartphone application rather than
a Pocket PC application, you would typically use \Storage\Program
Files as the target directory.
Target directory for a Smartphone
If you were creating a Smartphone application rather than
a Pocket PC application, you would typically use \Storage\Program
Files as the target directory.
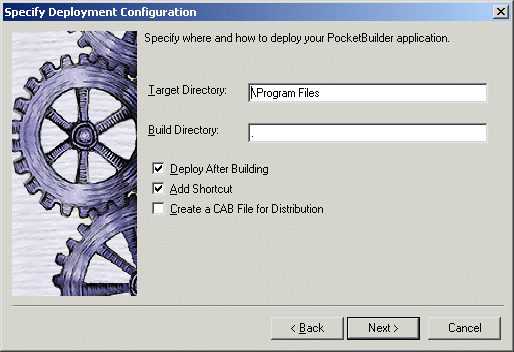
Click Next.
The Specify Version Information page displays.
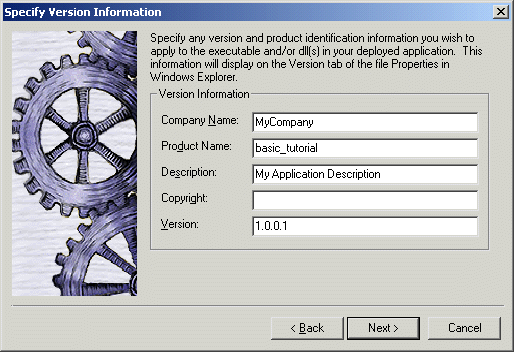
You accept the default version information.
Click Next to display the Ready To Create Application page.
This is the last wizard page. It lists your current selections so that you can review them and use the Back button to go back and change them if necessary.
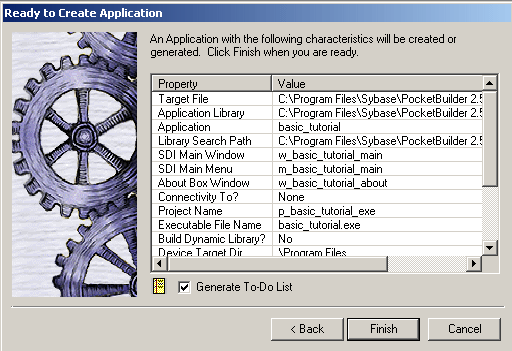
Notice that the Generate To-Do List check box is selected.
Click Finish.
The PocketPC Application Creation Wizard creates the basic_tutorial.pkt target and the basic_tutorial.pkl library, and sets the new basic_tutorial application as the default application.
You can expand the System Tree to view all the objects that have been created by the PocketPC Application Creation Wizard. The System Tree does not display the file extension of the pbtutor target, but it does display the directory where the target file is saved.
The basic_tutorial.pkl library displays under the basic_tutorial target in the System Tree. It contains the target Application object, which has the same name as the target object, basic_tutorial, but displays under the library file.
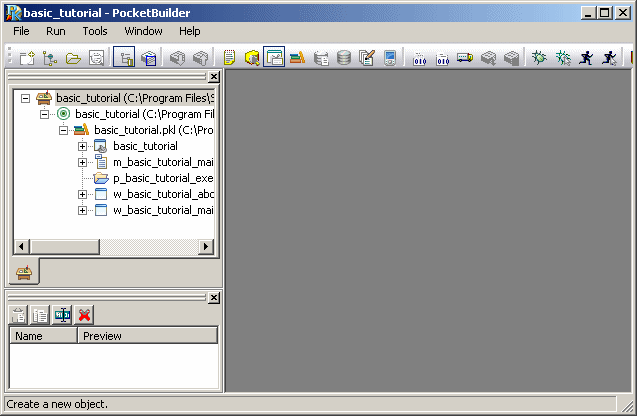
Other objects generated by the wizard also display under the library file. One of these is the main window w_basic_tutorial_main.
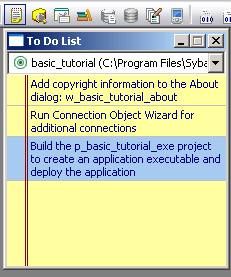
Click the To-Do List button in the PowerBar.
The To-Do List was generated by the PocketPC Application Creation Wizard. The To-Do List is created automatically by most wizards to guide you through the continued development of objects of different types that you will need for building an application. Some To-Do List entries are hot-linked to get you quickly to the painter (and the specific object you need) or to a wizard.
Next you specify an icon for the application and then you work in the main window.
Close the To-Do List.
You do not use it in this lesson. For information about the To-Do List, see the PocketBuilder Users Guide.