![]()
Now you create the basic report. To do this you select a report style and the data to be used for the report.
Click the New button in the PowerBar.

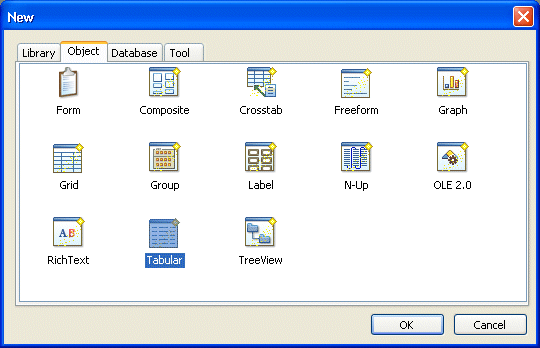
The New dialog box displays.
Select the Object tab if it is not already on top.
The Object tab page contains the icon for creating any type of new form and icons for the various report presentation styles.
Select the Tabular presentation style and click OK.
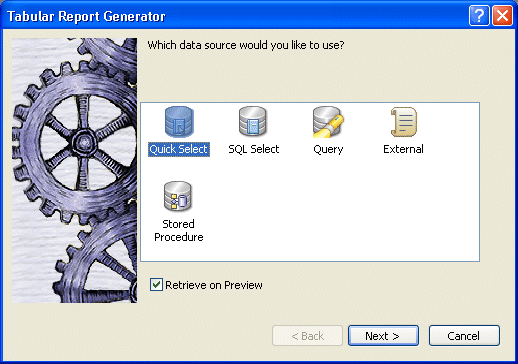
The wizard for creating tabular reports (also called DataWindows) starts up.
Select the Quick Select data source.
Make sure the Retrieve on Preview check box is selected and click Next.
![]() About data sources
Quick Select is simply for choosing
columns and specifying selection criteria and sorting, which is
what you want for this tutorial.
About data sources
Quick Select is simply for choosing
columns and specifying selection criteria and sorting, which is
what you want for this tutorial.
SQL Select is for using other SQL options not available with Quick Select.
Query is for specifying the name of a query that describes the data source. You define a query in the Query painter.
External is for specifying data that comes from a source other than a database.
Stored Procedure is for specifying data using a stored procedure.
The Quick Select dialog box displays. In this dialog box you select the table to use and the columns you want to include in the report.
Click contact.
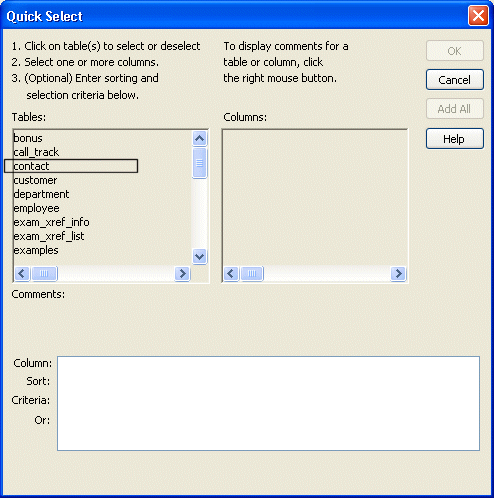
The columns for the contact table display. For this report you select five columns.
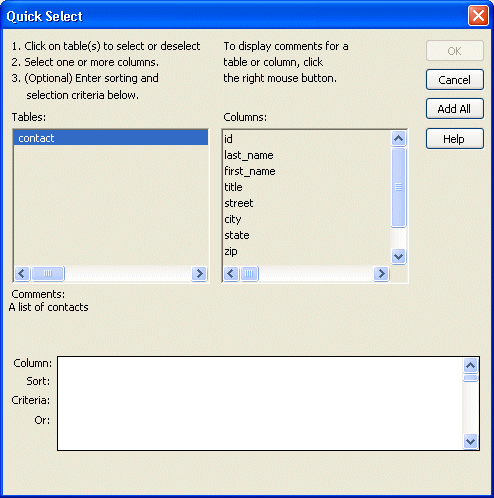
Click last_name, first_name, and title.
Use the scroll bar to scroll the list of columns.
Click phone and fax.
InfoMaker moves the selected columns to the grid at the bottom. You can use this grid for reordering columns and for providing sort and selection criteria. For this report you do not need selection criteria, and you specify sorting later.
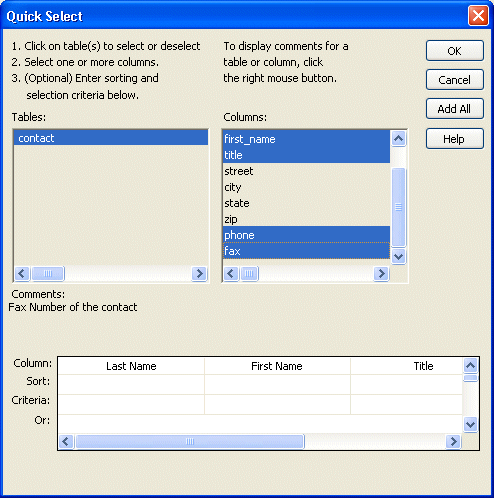
Click OK.
The Select Color and Border Settings dialog box displays. You are going to accept the defaults.
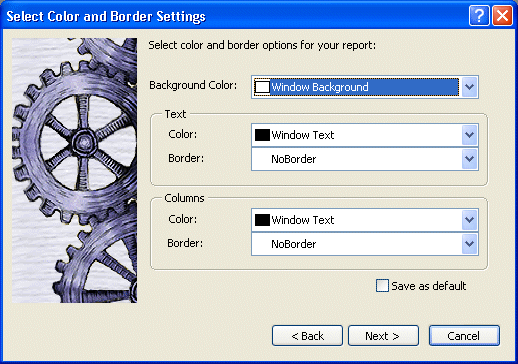
Click Next.
A dialog box summarizing all your specifications displays.
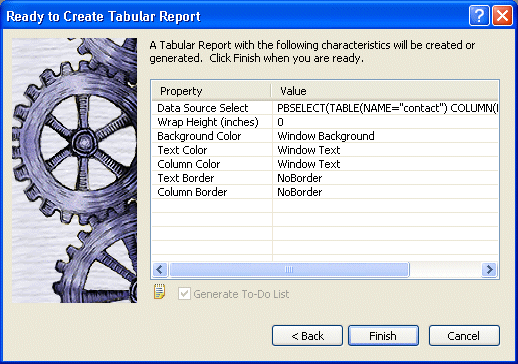
Look over your specifications and then click Finish.
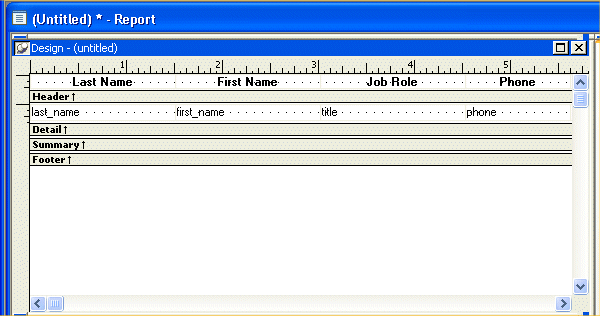
Your report displays in several views in the Report painter. It uses the columns and report style you selected.
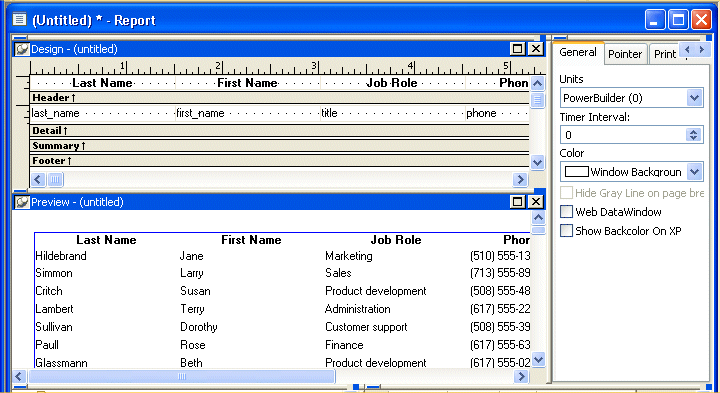
The Design view is where you do much of your work perfecting the report. The text for the column headers comes from the extended attribute system tables. The names of the columns appear where the data values will be displayed.
![]() The extended attribute system tables
The extended attribute system tables store information about
data such as labels and display formats. When you create forms and
reports, InfoMaker uses extended attribute information to create
the basic form or report.
The extended attribute system tables
The extended attribute system tables store information about
data such as labels and display formats. When you create forms and
reports, InfoMaker uses extended attribute information to create
the basic form or report.
You put information into the extended attribute system tables using the Database painter. For example, in the Table tutorial you define the label Job Role: for the title column. Then when you use the title column in a form or report, InfoMaker uses the label Job Role:.