![]()
![]()
![]()
![]()
![]()
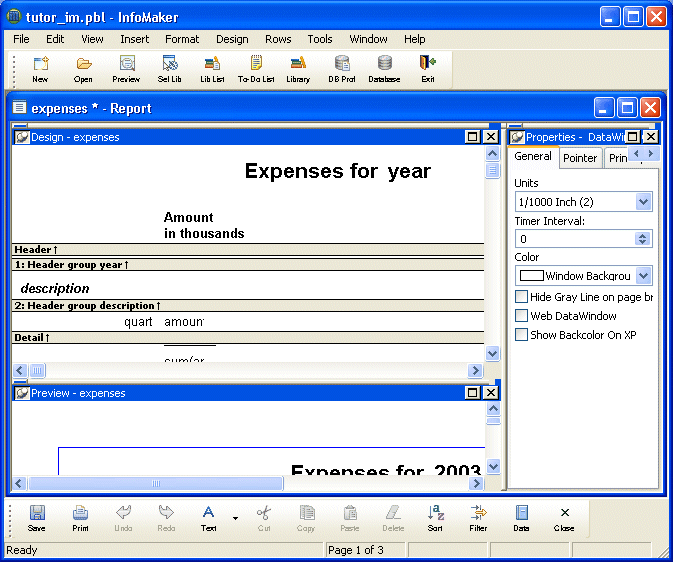
InfoMaker provides a number of views in each painter to make it easier for you to work. The View menu in each painter lists the views available to you. You can use the View menu items to display and close the various views. In this exercise you learn how to manage views.
Move the pointer to the upper-left corner of one of the views.
When the bar drops and the pushpin displays, click the pushpin.
Repeat this for the other two views.
Now the three views have title bars that identify the Design view, the Preview view, and the Properties view.
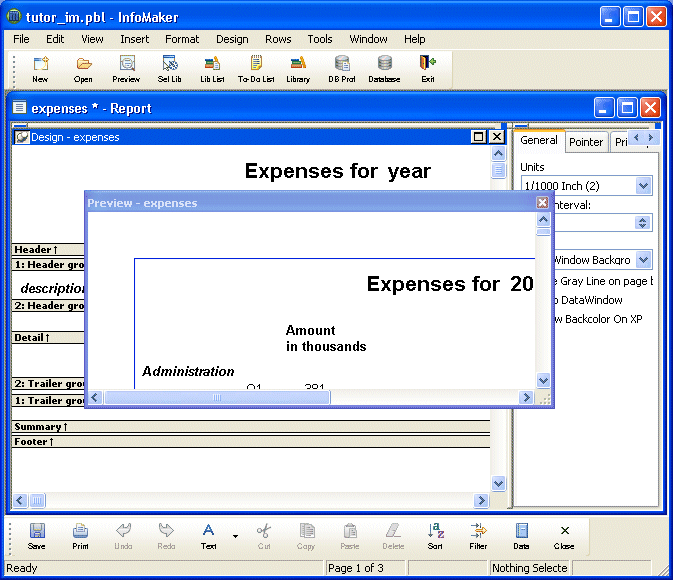
Move the pointer to the Preview view’s title bar and press the right mouse button.
Select Float from the pop-up menu.
Now the view is floating. You can drag it wherever you want it and resize it as needed.
Display the pop-up menu on the Preview view’s title bar and select Dock.
The view goes back to where it was. There are more options for moving views around, including dragging them and overlaying one view on top of another to make tabbed views. You can read about these in the InfoMaker User’s Guide.
