![]()
![]()
![]()
![]()
![]()
InfoMaker comes with several toolbars: the PowerBar, three PainterBars, and the StyleBar. You can control whether individual toolbars display and where they display. You can also choose whether to display text in the toolbars.
In this exercise you learn how to use toolbars.
(You can also create your own toolbars and customize toolbars. See the InfoMaker User’s Guide for more information.)
Move the pointer to the toolbar area.
Click the right mouse button.
The pop-up menu for the toolbars displays.

Select Floating from the pop-up menu.
The PainterBar changes to a floating toolbar.
Move the pointer to the title bar and drag the floating toolbar to another location.
![]() How to drag the toolbar
Press and hold the left mouse button. While holding the button,
move the mouse (an outline displays to show the current location
of the toolbar). When the toolbar is where you want it, release
the mouse button.
How to drag the toolbar
Press and hold the left mouse button. While holding the button,
move the mouse (an outline displays to show the current location
of the toolbar). When the toolbar is where you want it, release
the mouse button.
You can put toolbars in different locations: left, top, right, bottom, and floating.
Select Tools>Toolbars from the menu bar.
![]() About the notation Tools>Toolbars
Throughout the tutorials, commands issued from the menu are
shown as a sequence of choices separated by arrows. For example,
to select Tools>Toolbars means to select Tools from
the menu bar and then Toolbars from the menu
items.
About the notation Tools>Toolbars
Throughout the tutorials, commands issued from the menu are
shown as a sequence of choices separated by arrows. For example,
to select Tools>Toolbars means to select Tools from
the menu bar and then Toolbars from the menu
items.
The Toolbars dialog box displays. Notice that the PowerBar is highlighted. If the PowerBar is currently displayed, the middle button says Hide.
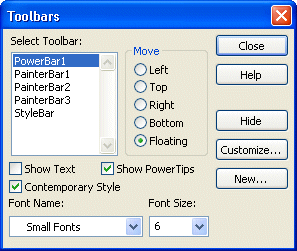
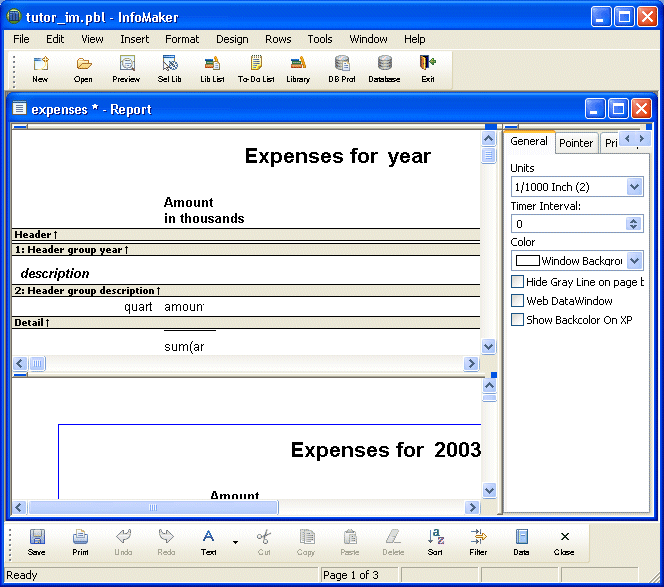
Click PainterBar1 and then click the Bottom button.
The PainterBar displays at the bottom of the InfoMaker screen.
Click Show Text to make text display on the buttons.
Click the Close button to close the dialog box.
Move the pointer over one of the toolbar buttons.
After a couple of seconds, the PowerTip that tells what the button does displays.
Click the small black triangle next to the Text button in the PainterBar.
The Objects drop-down toolbar displays. It holds buttons for the controls you can add to reports. (A text control is one type of control you can add to a report.) Several buttons on other PainterBars have small black triangles. These buttons belong to other drop-down toolbars (such as the Border drop-down toolbar).
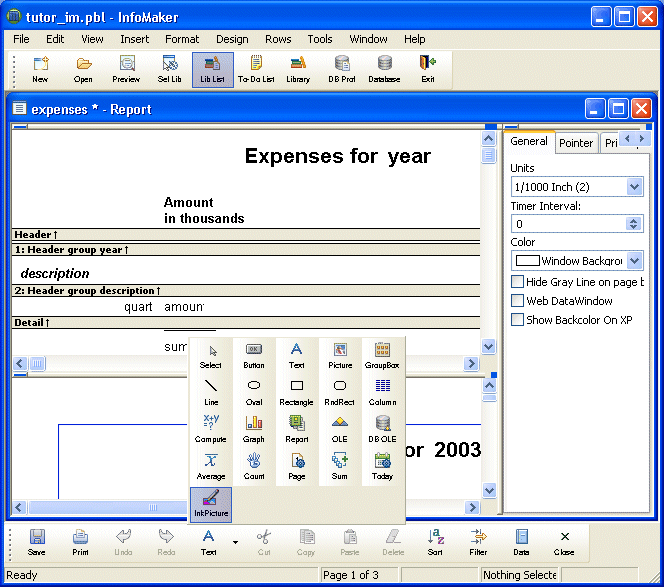
Click in the white space to the right of the toolbar to make the Objects drop-down toolbar close.
Now you know several ways to move the toolbars and you know how to turn text display on and off.
For the rest of these tutorials, you should move the toolbars where you like to have them. Your screen may not match the pictures in this book, depending on where and how you display toolbars.
