![]()
Now you take a look at pop-up menus and the Properties view.
Move the pointer to the words Expenses for.
Click the right mouse button.
The pop-up menu for a piece of text (also called a text control) displays. Whenever you position the pointer on something that has a pop-up menu and click the right mouse button, the appropriate menu items display.
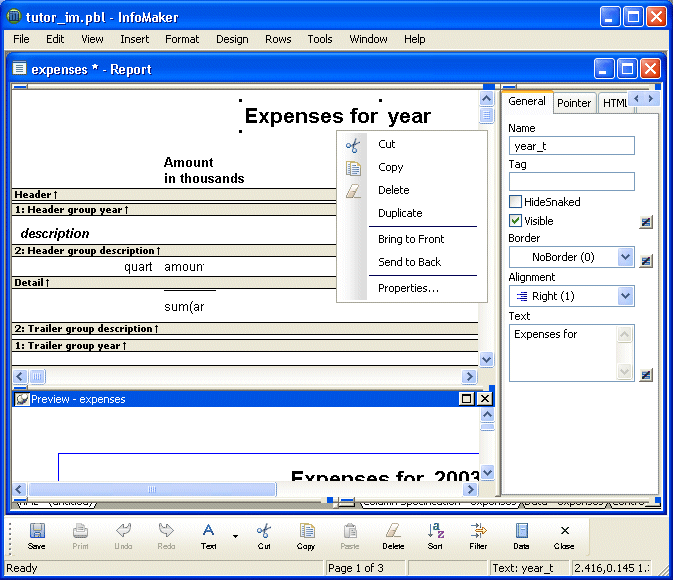
If the Properties view is not currently displayed, select Properties from the pop-up menu.
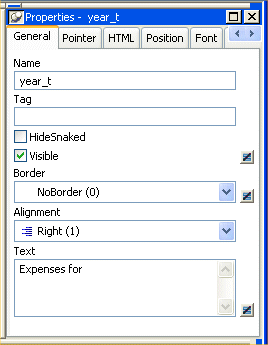
Look at the contents of the Properties view.
The Properties view displays the properties of the Expenses for text control because the text control is currently selected. For a text control, the Properties view has five tabs, which identify five pages of information. The General page is on top.
![]() About the Properties view
The Properties view displays a collection of information about
a control or the report object itself. You use the Properties view
to find out and set properties.
About the Properties view
The Properties view displays a collection of information about
a control or the report object itself. You use the Properties view
to find out and set properties.
For example, a text control has properties such as font, font size, location, border, and so on. You can see the current settings for these properties in the control’s Properties view. You can also change them there.
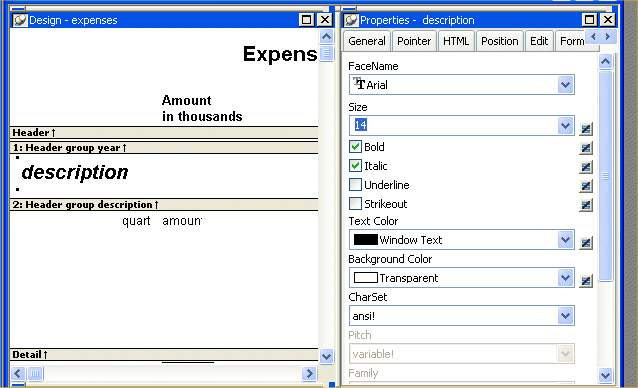
Position the pointer on the word description and click.
The Properties view now displays information for the data column (Column control) called description. The property pages and options are different from those for the text control.
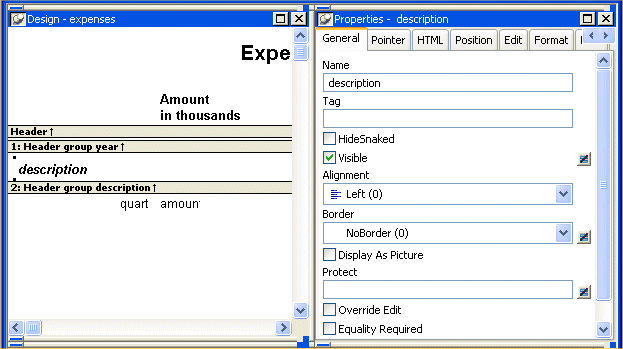
Click the word Font on the Font tab.
The Font page comes to the front of the Properties view.
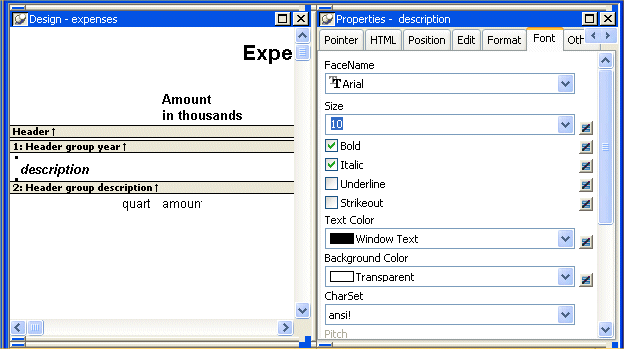
Select the font size 14 from the drop-down list in the Size box.
The font size of the text control changes to 14 in the Properties view, the Design view, and the Preview view.
Select the font size 10 from the drop-down list in the Size box.
The font size of the text control changes back to 10.