In this lesson, you will create a mobile application that includes data from the SybStore database warehouse_inventory table.
![]() Before you begin this lesson:
Before you begin this lesson:
Verify that the tutorial database is running and that a connection is established to the database in WorkSpace from the SybStore connection profile.
Verify that Unwired Accelerator is running.
See “Starting and connecting to the MySybStore database” and “Starting and connecting to the Unwired Accelerator server” for details.
In the WorkSpace main window, select the Enterprise Explorer tab if that view is open. If that view is not open, select Window|Show View|Enterprise Explorer to open the view.
Expand the Mobile Servers folder to locate MyMobileServer.
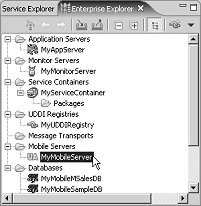
Right-click MyMobileServer and select Ping from the context menu to test the connection.
When the Ping Succeeded message
displays, click OK.
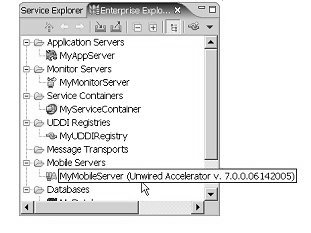
In the Enterprise Explorer view, right-click MyMobileServer and select Connect from the context menu.
The Unwired Accelerator version appears beside MyMobileServer, indicating the connection is established.
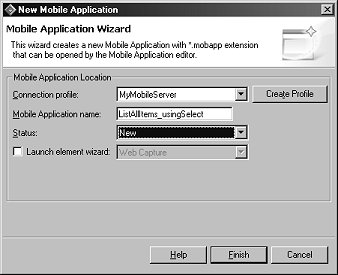
Select File|New|Mobile Application from the WorkSpace main menu bar.
When the Mobile Application Wizard opens, complete these options:
Connection Profile – select MyMobileServer.
Mobile Application Name – enter ListAllItems_usingSelect.
Status – select New.
Click Finish.
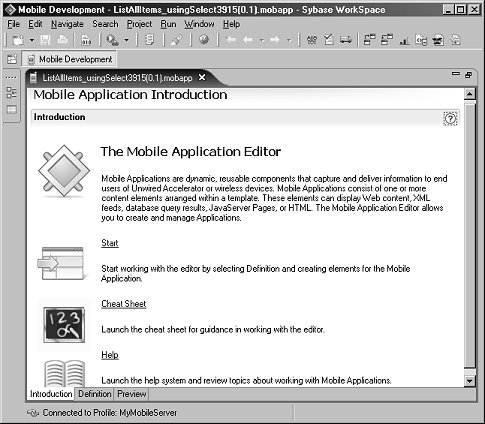
The Mobile Application editor appears. By default, the Introduction tab displays additional help which you can use to get started.
Select the Definition tab.
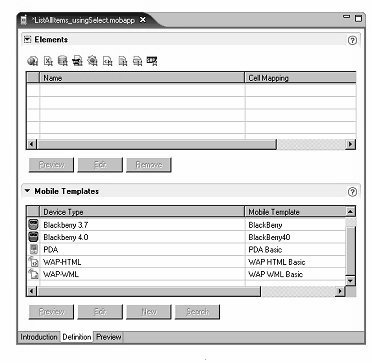
The Elements section of the Definition page is where you add specific content to the mobile application. You can add one or more elements to each mobile application. In this lesson, you will add a database element.
The icons at the top of the Elements pane represent supported content sources:
Web element
XML element
Database element
JSP element
Web Service element
HTML element
File element
Document element
SAP element
The Mobile Templates portion of the Definition page is where you define which template to use for each device type.
You can display the same content on different device types. You can choose which template to use for each device to provide the best content presentation. When a given device type connects to Unwired Accelerator, the content is rendered using the assigned template.
Click the database element icon in the Elements section.

The New Mobile Application Element wizard displays.

Select Connection Profiles in the Database Connections section, then select MySybStore from the drop-down list.
In the SQL Query section, choose Select from the Visual SQL drop-down list, then click the Visual SQL button. The database Select window opens, which allows you to visually create SQL for the selected statement.
Select the warehouse_inventory table and click Open.
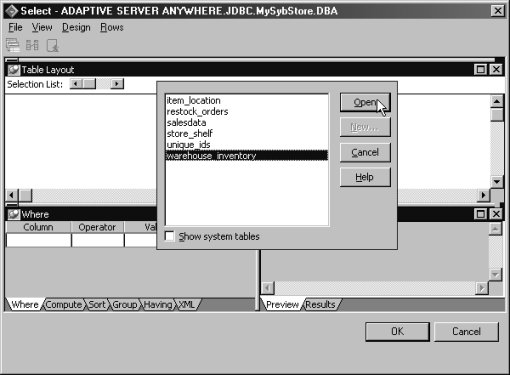
Select the first five columns in the table by clicking on each column in the Table Layout pane.
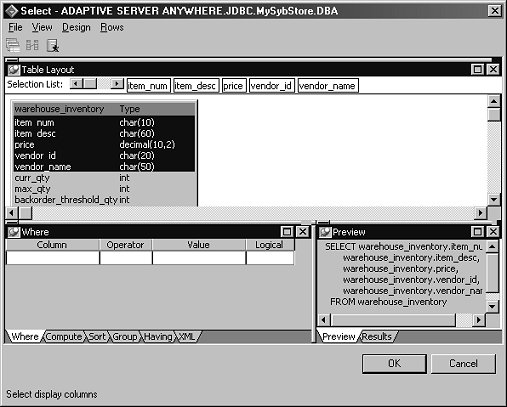
Each column is added to the Selection List toolbar and to the SELECT statement in the Preview window. You are now finished creating the SELECT statement.
Click OK. The SELECT statement appears in the SQL Query pane.
Click Validate to perform a syntax check on the SQL.
When you see a message that the SQL validated successfully, click OK, then click Preview to display the SQL query in the preview pane.
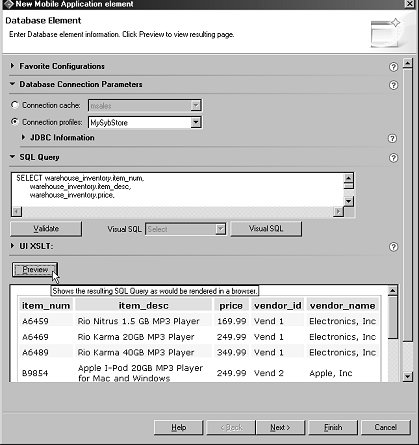
![]() If the data that displays in the preview does not resemble
the preceding image, make sure you initialized the tutorial database.
See “Initializing the tutorial database” for
instructions.
If the data that displays in the preview does not resemble
the preceding image, make sure you initialized the tutorial database.
See “Initializing the tutorial database” for
instructions.
Click Next. The Rules page of the wizard appears.

In the Record Layout section, select Row and the Records Contain Labels option, then click Preview.
The preview highlights the column headers.
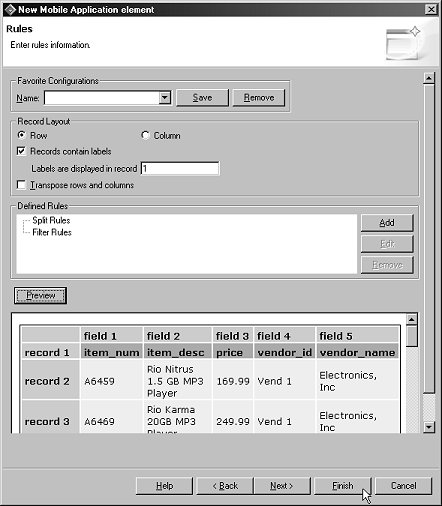
Click Finish to return to Definition tab of the Mobile Application editor.
The element that you created displays in the Elements section.
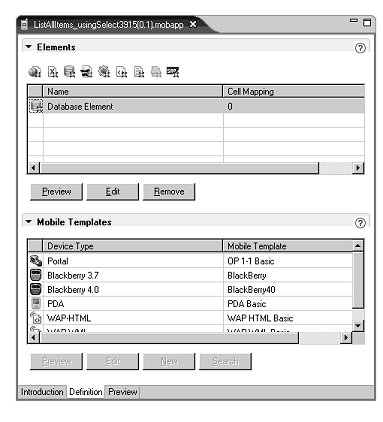
Select File|Save from the WorkSpace main menu bar to save the mobile application.
![]() Always save mobile applications before selecting Preview.
Always save mobile applications before selecting Preview.
Select the Preview tab in the Mobile Application editor.
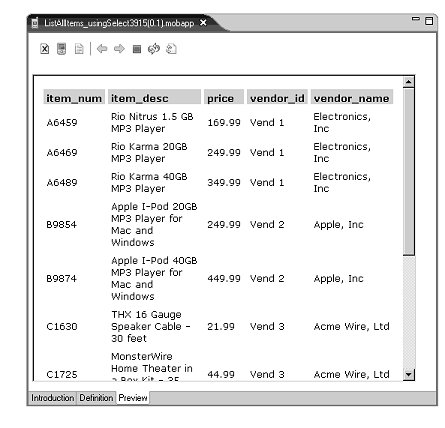
By default, the preview shows how the content would look displayed in a portal with a desktop browser.
Click the PDA icon to preview the display.
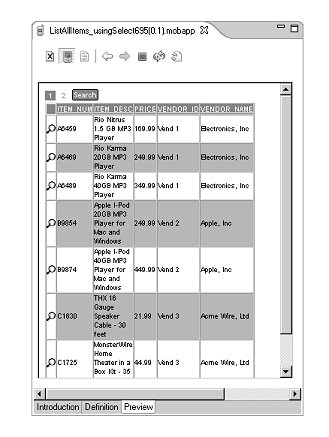
Select File|Close All from the WorkSpace main menu to close the preview window and editor.