![]()
![]()
![]()
![]()
To add data to your table, you import a text file of tab-separated values. Importing the file quickly adds 60 rows of data.
Typically you create a form to add data to the database. In the form tutorial you saw how to add data using a form.
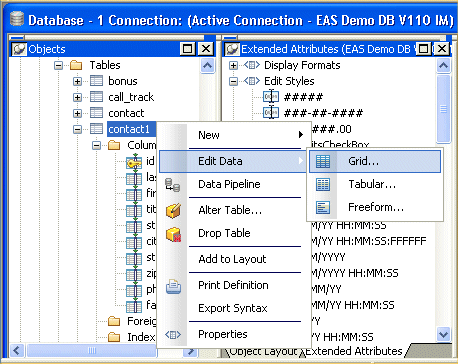
Display the pop-up menu for contact1 and select Edit Data>Grid.
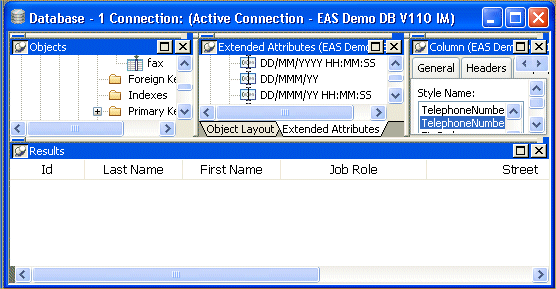
The Results view shows column headers but no data. This view lets you view, add, modify, and delete data.
Select Rows>Import from the menu bar.
The Select Import File dialog box displays. You might need to change to the Tutorial folder, which contains the file you use.
If necessary, change to the Tutorial folder.
Double-click the contact.txt file.
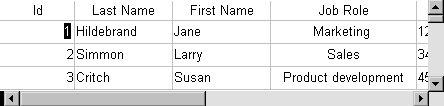
InfoMaker imports the data into the Results view (the data is not yet in the database).
Select Rows>Update from the menu bar.
This adds 60 rows of data to the database. To be sure that the data is in the database, you retrieve it from the database.
Select Rows>Retrieve from the menu bar.
InfoMaker retrieves all the contact data from the database and displays the data in the Results view.
Select File>Close from the menu bar.
This closes the Database painter.
You have created a new database table, complete with extended attribute information and data.
