![]()
![]()
Chapter 5 Repository Administration
![]() To create a group:
To create a group:
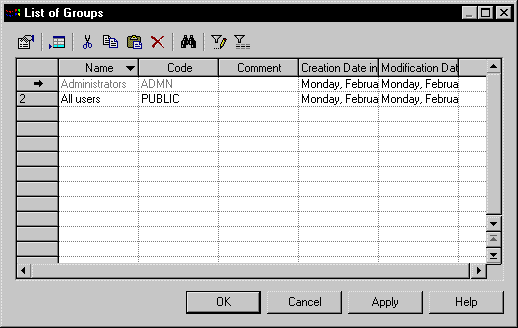
Each PowerDesigner repository group has the following general properties:
| Property | Description |
|---|---|
| Name | The name of the item which should be clear and meaningful, and should convey the item's purpose to non-technical users |
| Code | The technical name of the item used for generating code or scripts, which may be abbreviated, and should not generally include spaces |
| Comment | Additional information about the group |
![]() Granting permissions to a group
Granting permissions to a group
You have to grant access rights to a new group in order for user members to inherit these permissions (see Specifying a group's rights). If a user connects to the repository without access rights, he cannot see any document in the browser.
| Copyright (C) 2007. Sybase Inc. All rights reserved. |
| |