
Chapter 5 Using MS Word with a requirements model
Creating a requirement from a selected text
In MS Word, the Create a Requirement from the Selected Text feature is useful in the following cases:
- When you have already created a linked requirements model, and you want to add a new section (title and text) from the document to the model. You type the section in the document (between a requirement end tag [/PDRQM] and a requirement start tag [PDRQM]), then you select it and export it to the model
- When you want to add a new requirement from an MS Word document to an existing requirements model, and you do not want the document to be linked to the model
The following procedure assumes you have an MS Word document open, with MS Word-based headings.
PowerDesigner can be open, with an existing requirements model linked or not.
 To create a requirement from a selected text:
- In the MS Word document, select the section (title and text) you want to convert into a requirement.

- In the MS Word menu bar, select Requirements→Create a Requirement from the Selected Text.
or
In the Requirements toolbar, click the Create a Requirement from the Selected Text tool.

If the document is linked to a model, the section is directly exported as a requirement in the model. The location of the section, between a requirement end tag and a requirement start tag, determines the location of the requirement in the model. If the section has no title, then it is exported as a sub-requirement of the previous requirement.
If the document is not linked to a model, the following message appears.

- Click Yes, if you want the section to be linked to the requirements model.
or
Click No, if you do not want the section to be linked to the requirements model.
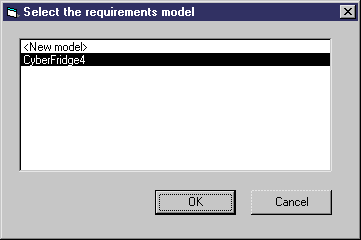
A Select the requirements model dialog box appears.
- Select <New model>.
or
Select an existing requirements model. (It must be open in the workspace)

Note: Only models open and not linked to a document, or containing at least one package not linked, appear in this dialog box.
- Click OK.
If you selected <New model>, the Save As dialog box appears to let you save the new model. Select a directory in the Save in dropdown listbox, type a name in the File name box, select Word Document (*.doc) in the Save as type dropdown listbox, and click Save. A new requirements model appears with an atomic requirement corresponding to the selected text.
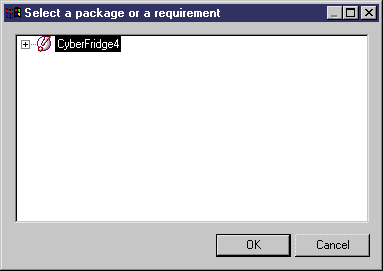
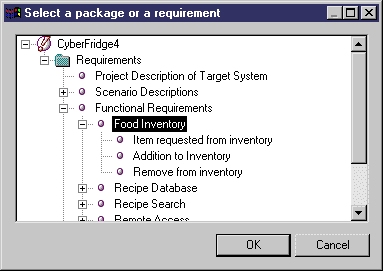
If you selected an existing requirements model, the Select a Place in Document dialog box appears with the model root node.

- Expand the model root node to reveal the requirements hierarchy, and select the location where you want to create the requirement.

Note: Only packages that are not linked to a document appear in the dialog box.
- Click OK.
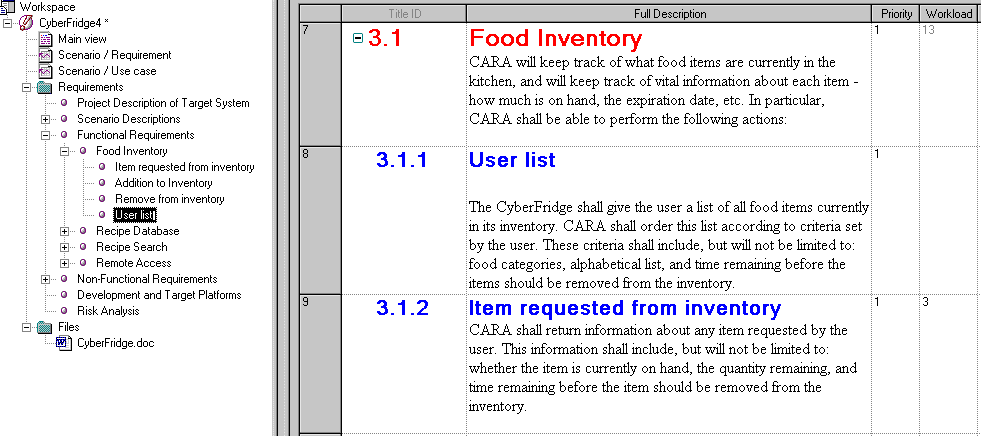
The new requirement ("User list"), corresponding to the selected text, appears in the existing requirements model.

|
Copyright (C) 2005. Sybase Inc. All rights reserved.
|

|


![]() To create a requirement from a selected text:
To create a requirement from a selected text:


