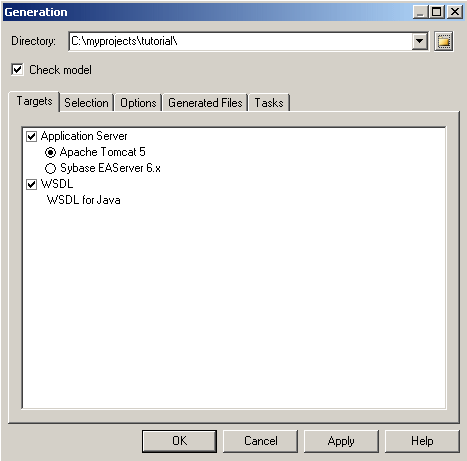
PowerDesigner provides a standard interface for generating source files for all the supported OO languages. For details of language-specific options and generation tasks, see the appropriate language chapter.
-
Select
Language
> Generate langage Code
to open the Generation dialog box:
- Enter a directory in which to generate the files, and specify whether you want to perform a model check. For more information about checking your model, see Checking an OOM.
- [optional] Select any additional targets to generate for. These additional targets are defined by the extended model definitions that are attached to your model. For more information, see Working with generation targets.
-
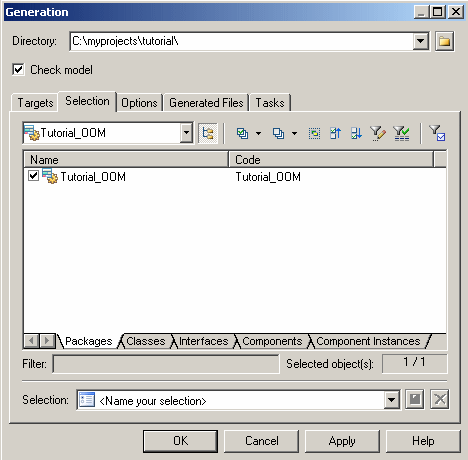
[optional] Click the Selection tab and specify the objects that you want to generate from. By default, all objects are generated, and PowerDesigner remembers for any subsequent generation the changes you make.
-
[optional] Click the Options tab and set any necessary generation options. For more information about these options, see the appropriate language chapter.
For information about editing the options that appear on this tab, see "Generation category" in the Resource Files and the Public Metamodel chapter of Customizing and Extending PowerDesigner.
-
[optional] Click the Generated Files tab and specify which files will be generated. By default, all files are generated, and PowerDesigner remembers for any subsequent generation the changes you make.
For information about customizing the files that will be generated, see "Templates and Generated Files" in the Extending Your Models with Profiles chapter of Customizing and Extending PowerDesigner.
-
[optional] Click the Tasks tab and specify any additional generation tasks to perform. For more information about these tasks, see the appropriate language chapter.
For information about adding your own generation tasks, see "Generation category" in the Resource Files and the Public Metamodel chapter of Customizing and Extending PowerDesigner.
-
Click OK to begin generation.
A Progress box is displayed. The Result list displays the files that you can edit. The result is also displayed in the Generation tab of the Output window, located in the bottom part of the main window.
All files are generated in the destination directory.

