![]()
The workspace is where you build, edit, debug, and run PowerBuilder targets. You can build several targets within a single workspace, including Web targets, which are covered in Part 3 of this tutorial.
Now you start PowerBuilder and create a new workspace.
![]() First read the Release Bulletin for this release
Any last-minute items are documented in the Release Bulletin.
To make sure you have all the files necessary to complete the tutorial,
see “Setting up for the tutorial”.
First read the Release Bulletin for this release
Any last-minute items are documented in the Release Bulletin.
To make sure you have all the files necessary to complete the tutorial,
see “Setting up for the tutorial”.
Double-click the PowerBuilder icon (representing PB105.EXE) in the Sybase>PowerBuilder 10.5 path
or
Select Programs>Sybase>PowerBuilder 10.5>PowerBuilder 10.5 from the Windows Start menu.
![]() If the Welcome to PowerBuilder dialog box displays
You can select the Don’t Show This Dialog Again check
box to keep PowerBuilder from displaying the welcome dialog box
every time you start PowerBuilder. Select the Reload Last Workspace
On Starting PowerBuilder check box to load the most recently used
workspace each time you start a PowerBuilder session. Then click
Close This Dialog.
If the Welcome to PowerBuilder dialog box displays
You can select the Don’t Show This Dialog Again check
box to keep PowerBuilder from displaying the welcome dialog box
every time you start PowerBuilder. Select the Reload Last Workspace
On Starting PowerBuilder check box to load the most recently used
workspace each time you start a PowerBuilder session. Then click
Close This Dialog.
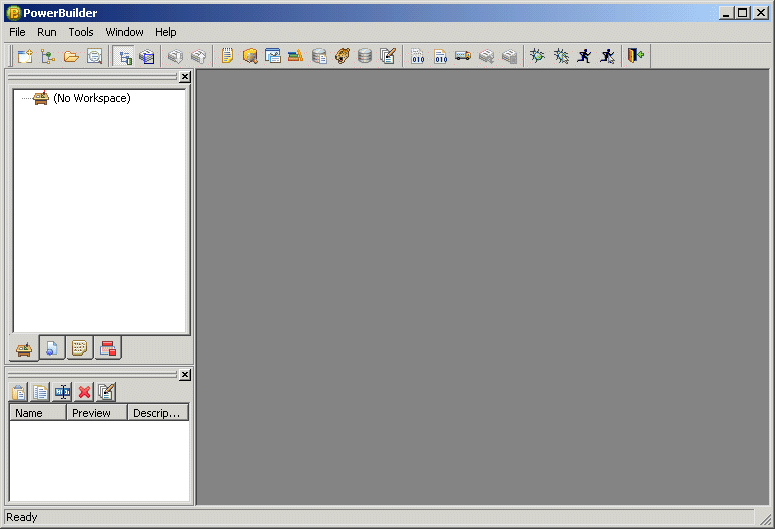
The PowerBuilder development environment displays.
If this is the first time you are opening PowerBuilder on your machine, you see only a top-level entry in the System Tree to indicate that no workspace is currently open. Otherwise, the System Tree might show a workspace with targets and objects in it.

Select New from the File menu
or
Click the New button in the PowerBar.
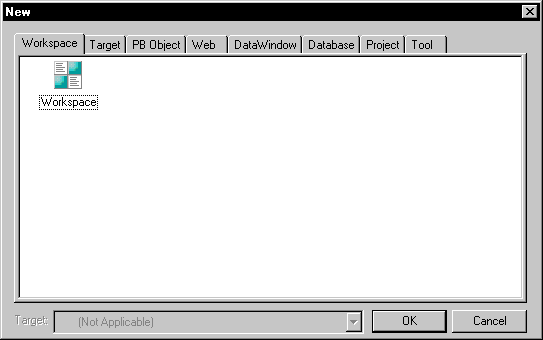
The Workspace page of the New dialog box displays.
PowerBuilder displays the page of the New dialog box that was used before the dialog box was last closed. In this exercise, make sure that the Workspace page of the New dialog box displays.

Select Workspace from the Workspace page of the New dialog box.
Click OK.
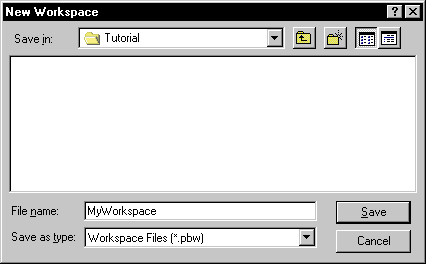
The New Workspace dialog box displays.
Navigate to the Tutorial folder.
The Tutorial folder is located directly under the PowerBuilder 10.5 folder.

Type MyWorkspace in
the File name text box.
Click Save.
The New Workspace dialog box closes and the workspace you created appears as the first item in the System Tree.