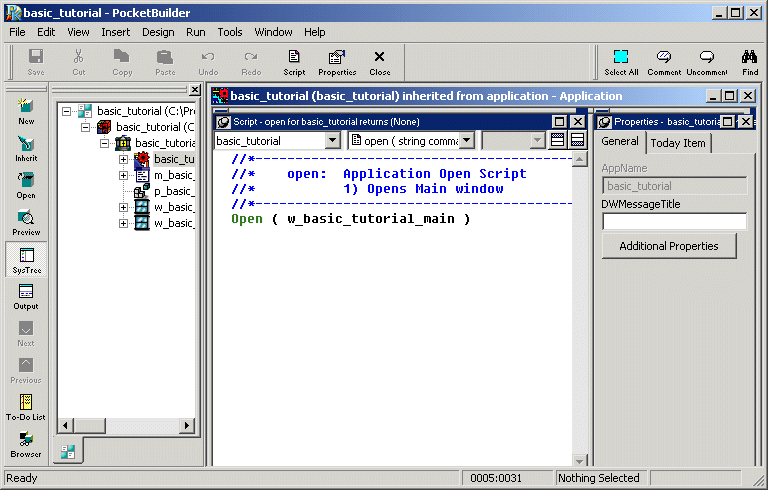
A painter workspace always includes the PowerBar and other PainterBar toolbars that you can use as you work. The buttons in the toolbars change depending on the type of target or object you are working with. You can also customize the toolbars to include additional functionality.
Now you change the appearance of the toolbars to:
You can learn a toolbar button’s function by placing the cursor over it to view its PowerTip. A PowerTip is pop-up text that indicates a button’s function.
You can also display a label on each toolbar button.
Move the pointer to any button on the PowerBar, but do not click.
The button’s PowerTip displays.

Select Tools>Toolbars from the menu bar.
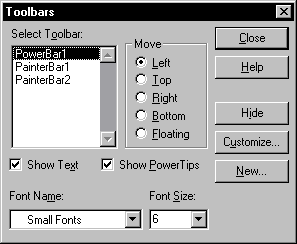
The Toolbars dialog box displays.
Select the Show Text check box, then click the Close button.
PocketBuilder displays a label on each of the buttons in the PowerBar and the PainterBars.
You can float the toolbars so that you can move them around the painter workspace as you work.
Right-click anywhere in the PowerBar.
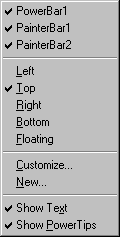
The pop-up menu for the toolbars displays. From the pop-up menu you can set the toolbar’s location to the left, top, right, or bottom of the workspace. You can also set it to floating.

Select Floating from the pop-up menu.
The PowerBar changes to a floating toolbar. You can adjust its shape.

Move the pointer to an edge or border area in the PowerBar.
Press and drag the PowerBar toward the left side of the workspace.
Release the mouse button when the PowerBar becomes a vertical bar.

The PowerBar is docked at the left side of the frame.
You can customize the position of the toolbars to suit your work style.
Select Tools>Toolbars from the menu bar.
The Toolbars dialog box displays. The selected radio button in the Move group box indicates the position of the currently selected toolbar.

Click Top.
This repositions the PowerBar at the top of the workspace.
![]() Radio buttons are grayed if a selected toolbar is hidden
If a selected toolbar is hidden (not visible) in the painter,
you cannot select where it appears in the workspace. In this case,
the radio buttons are grayed and you must first click the Show button
before you can select a radio button. The Show button replaces the
Hide button when a toolbar is hidden.
Radio buttons are grayed if a selected toolbar is hidden
If a selected toolbar is hidden (not visible) in the painter,
you cannot select where it appears in the workspace. In this case,
the radio buttons are grayed and you must first click the Show button
before you can select a radio button. The Show button replaces the
Hide button when a toolbar is hidden.
Click PainterBar1 in the Select Toolbar list box and select Right.
Click Close in the Toolbars dialog box.
Right-click PainterBar2 and select Left from the pop-up menu.
You have swapped the locations of the two painter bars.
Arrange the toolbars to suit your preferences.
You can also drag the toolbars to the top, bottom, left, or right of the painter workspace. When a toolbar is in a fixed location, it has a drag bar at the left or top of its buttons. You can click the drag bar and drag the mouse to move the toolbar around the painter workspace.
PocketBuilder applies toolbar configuration properties to all painters and saves them for the next PocketBuilder session.
Close the Application painter.