![]()
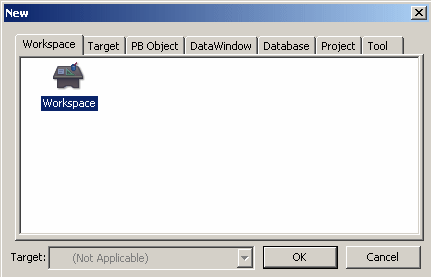
Click the New button in the PowerBar or select File>New from the menu bar.

The New dialog box displays.
In the Workspace tab, select Workspace and click OK.
Navigate to the \PocketBuilder 2.5\Tutorial\EmployeeList directory.
Type emplist_tutorial in the File name text box.
Save the new workspace as emplist_tutorial in the \PocketBuilder 2.5 \Tutorial\EmployeeList directory.
Select File>New from the menu bar and click the Target tab
or
Right-click emplist_tutorial in the System Tree, select New from the pop-up menu, and click the Target tab.
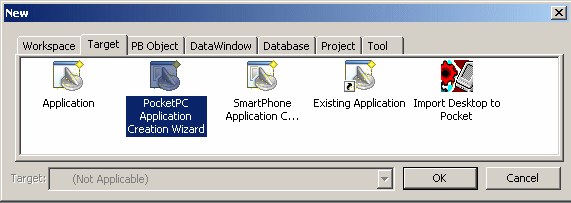
The Target page of the New dialog box displays.
Select the PocketPC Application Creation Wizard icon and click OK.
The PocketPC Template Application wizard displays. In most wizards, the first page explains what the wizard is used for. As you step through the wizard, you can press F1 to get Help on most fields.
Click Next until the Specify New Application and Library page displays.
Type emplist_tutorial in
the Application Name text box.
When you click Next or place the cursor in the Library or Target text box, the wizard automatically assigns file names to the library and target that use this application name. It assigns the library a PKL extension and the target a PKT extension.
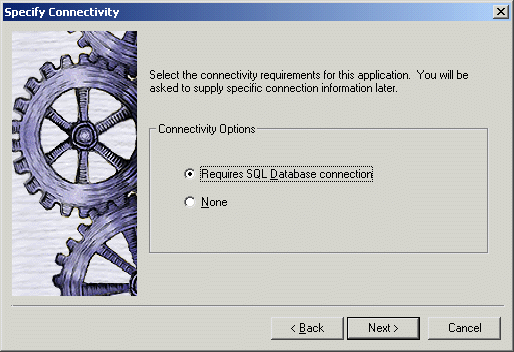
Click Next until the Specify Connectivity page displays.
You accept the default library search path and window and menu names. This lesson requires database connectivity.
Make sure the Requires SQL Database connection check box is selected.
Click Next.
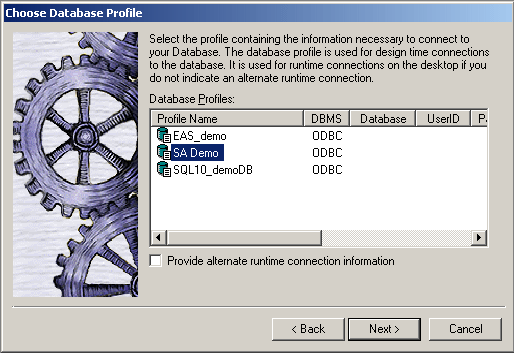
Select the SA Demo database profile from the Profile Name list if it is not already selected.
Click Next.
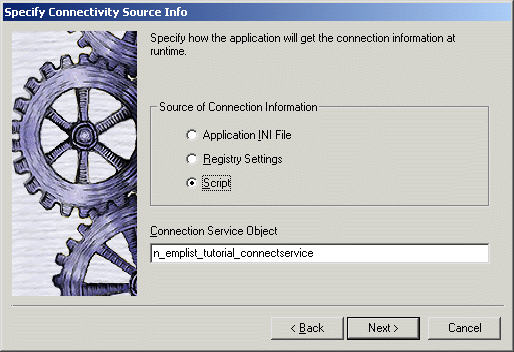
Make sure the Script radio button is selected.
This selection means that the connection information for the application is provided in a script.
Click Next.
The Specify Project Object page displays.
The wizard will create a project object that opens in the Project painter. The Project painter allows you to streamline the generation of files that your target needs, create an executable for deployment, and rebuild your application easily when you make changes to the application.
Click Next until the Specify Deployment Configuration page displays.
You accept the default names for the project name and the executable file name, and you do not choose to build dynamic libraries.
The Specify Deployment Configuration page displays fields for a target directory and a build directory. The Target directory (with a default of \Program Files) is the directory on the device or emulator where you want to deploy your application. The Build directory is the directory where you want to build your application. The default value is a single dot (“.”) representing the directory that contains the main application library.
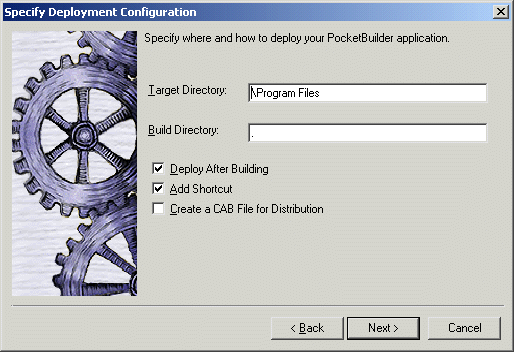
Click Next to accept the default names for the target and build directories.
The Specify Version Information page of the wizard displays.
Click Next to accept the default version information.
You accept the default deployment configuration and version information. The last wizard page lists your current selections so that you can review them or use the Back button to go back and change them if necessary.
Click Finish.
The PocketPC Application Creation Wizard creates the emplist_tutorial.pkt target and the emplist_tutorial.pkl library, and sets the new emplist_tutorial application as the default application.
You can expand the System Tree to view all the objects that have been created by the PocketPC Application Creation Wizard. The System Tree does not display the file extension of the emplist_tutorial target, but it does display the directory where the target file is saved.
The emplist_tutorial.pkl library displays under the basic_tutorial target in the System Tree. It contains the target Application object, which has the same name as the target object but displays under the library file.
Other objects generated by the wizard also display under the library file. One of these is the main window w_emplist_tutorial_main.
Next you create a DataWindow object for your application.