![]()
Now you specify sorting for the rows. When you specify sorting, you also enable grouping. Before you can define a group, the rows have to be sorted so that the data can be grouped.
Click the Sort tab at the bottom of the workspace.
The Sort tab comes to the front. In the Sort tab, you specify one or more columns to use for sorting the rows.

Scroll the list as needed to drag and drop column names.
Drag and drop "fin_data"."year" from the left box to the right box.
Drag and drop "fin_code"."description" from the left box to the right box.
Drag and drop "fin_data"."quarter" from the left box to the right box.
In all cases Ascending is what you want. Ascending means years and quarters are ordered by increasing values and descriptions are alphabetized from A to Z.

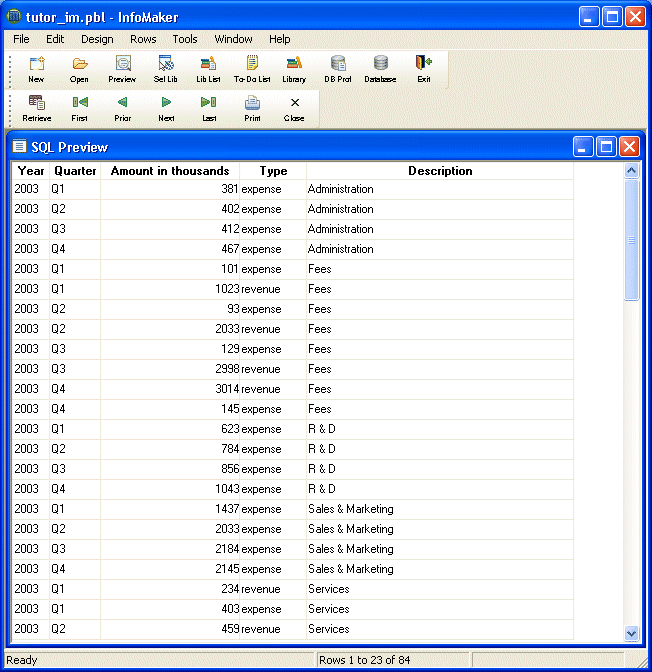
Select Design>Preview from the menu bar.
Use the scroll bar to view the data.
First the rows are sorted by year. All the 1995 information is first. Then they are sorted by description so that expenses of the same category are together. Finally the rows are sorted by quarter so that the data is always time-sequenced.

Select File>Close from the menu bar.
You return to the workspace.
Select File>Close from the menu bar.
If prompted to save changes, click Yes.
The Query painter closes.