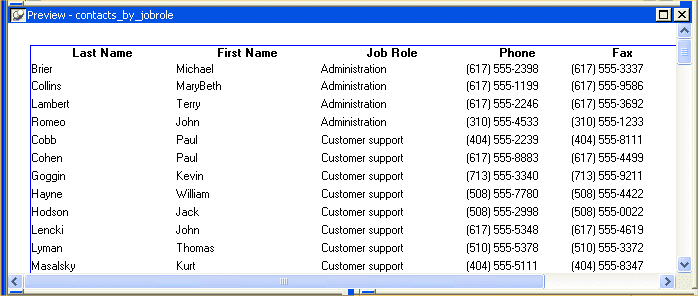
![]()
Now you specify sorting and grouping. You want the report to group contacts by title. This means you need to sort by title and then specify grouping by title.
Select Rows>Sort from the menu bar.
The Specify Sort Columns dialog box displays.
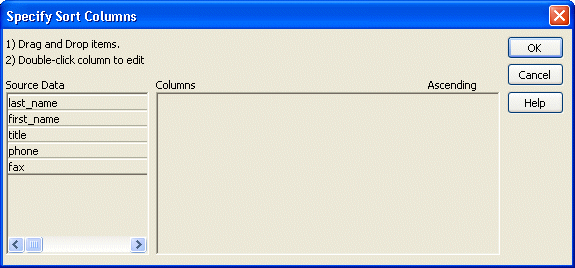
Move the pointer to the word title in the Source Data box and drag it to the Columns box.
(To drag, press and hold the left mouse button, move the mouse, then release the mouse button.)
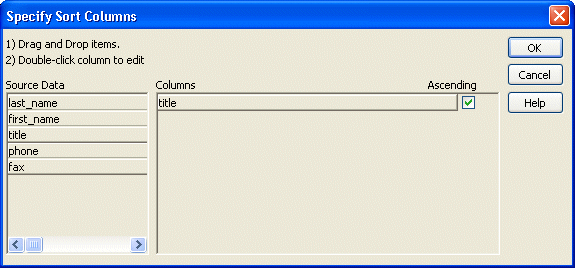
![]() Ascending and descending
Ascending and descending are options for sorting. Since you
are alphabetizing in this tutorial, you want to sort in ascending
(from A to Z) order. Ascending is the default, so you do not have
to do anything.
Ascending and descending
Ascending and descending are options for sorting. Since you
are alphabetizing in this tutorial, you want to sort in ascending
(from A to Z) order. Ascending is the default, so you do not have
to do anything.
You have specified the sorting required to group by title.
Next you specify sorting by last name and then by first name. This alphabetizes your contacts within each group.
Drag last_name and first_name to the Columns box.
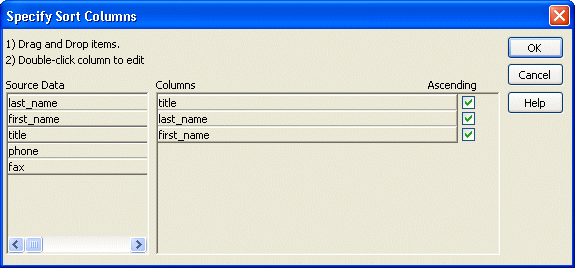
Click OK.
The sorting definition is complete.
Select Rows>Create Group from the menu bar.
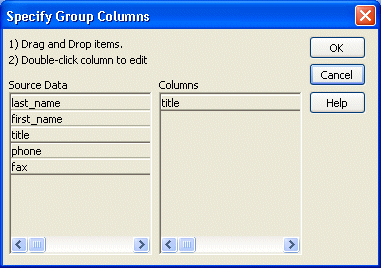
The Specify Group Columns dialog box displays. You are going to group on the title column. All contacts with the same title will be grouped together.
Drag title to the Columns box and click OK.
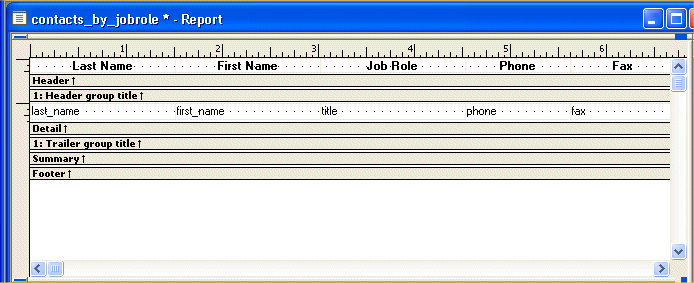
The grouping definition is completed. You have two new bands for the group in the report. You learn about bands in the next exercise.
Look at the Preview view.
You see the report and its data. Notice that the data is sorted. You do not see the groups yet. In a few minutes you will make some changes so the groups appear.
