Create a service managed bean based on a public WSDL file.
![]() Creating a service managed bean
Creating a service managed bean
If necessary, close the JSF Page Template view.
Click the Data Bindings view at the bottom of the perspective window to display it.
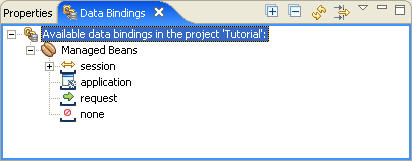
Right-click session and select New from the context menu to open the Create a Managed Bean wizard.

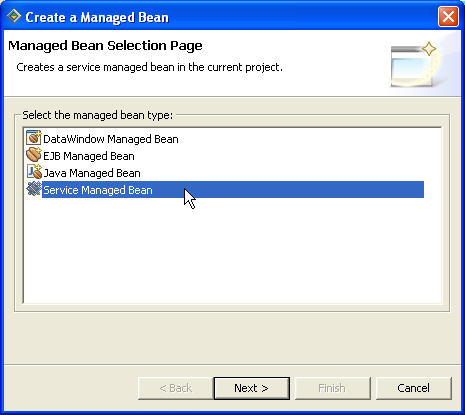
In the Create a Managed Bean wizard, select Service Managed Bean and click Next.
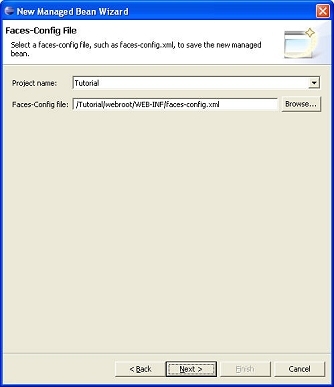
In the Faces-Config File page, accept the default settings and click Next.
Select Input WSDL and click Next.
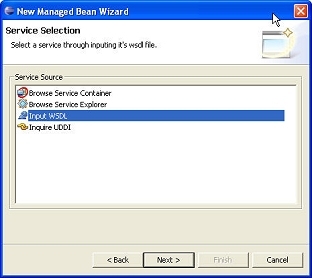
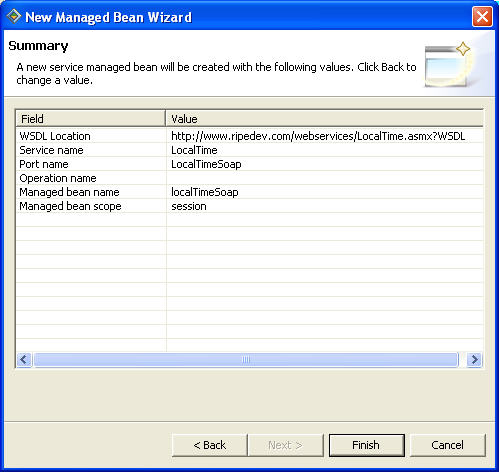
To define the WSDL file for the service managed bean, select From URL and enter the following in the URL field:
http://www.ripedev.com/webservices
/LocalTime.asmx?WSDL
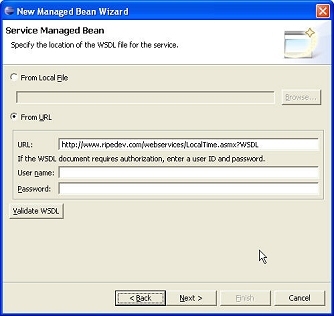
Click Validate WSDL to test the validity of the WSDL file.

Click OK to close the Validation box and then Next in the Service Managed Bean page to continue.
On the Service Selection page, define the service and port for the service managed bean.
In the Service Name field, if blank, select LocalTime from the drop-down list.
In the Port Name field, select LocalTimeSoap from the drop-down list.
Leave the Operation Name field blank and click Next.
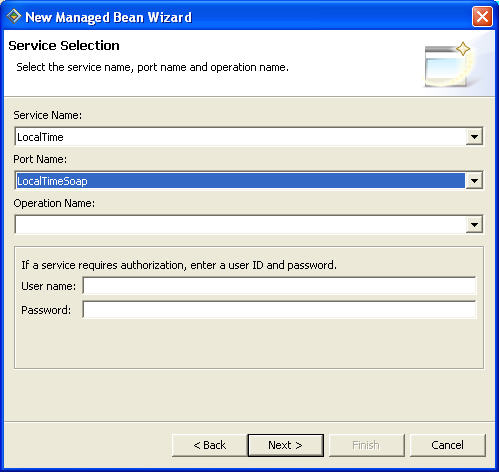
For this tutorial, the the managed bean is based on the port name; however, you can also create service managed beans based on operation names.
In the Managed Bean Configuration page, accept the default settings and click Next.
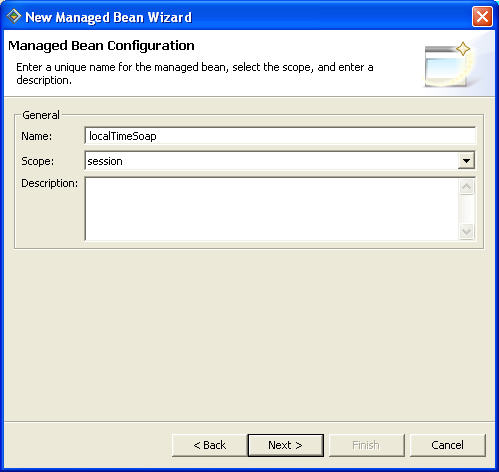
Review the Summary page, and click Finish to create the service managed bean.
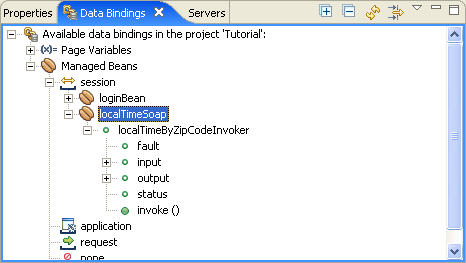
The localTimeSoap service managed bean appears in the Data Bindings view.
