Create a Java managed bean based on a Java class.
![]() Creating a Java managed bean
Creating a Java managed bean
In the Web Application Development perspective, click the Data Bindings view at the bottom of the perspective window to display it.

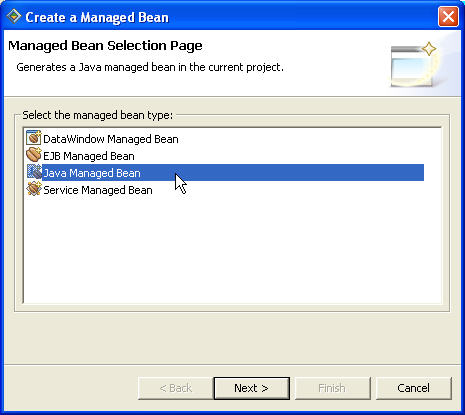
Right-click session and select New from the context menu to open the Create a Managed Bean wizard.

In the Create a Managed Bean wizard, select Java Managed Bean and click Next.
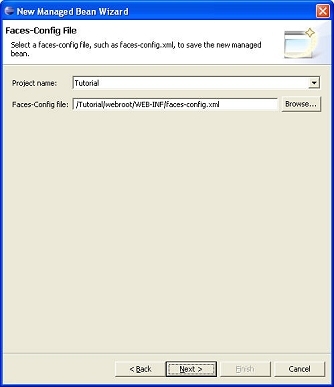
In the Faces-Config File page, accept the default settings and click Next.
In the Java Class Selection page, select Create a new Java class and click Next.

In the Java Class page, define the Java class:
In the Package field,
enter com.sybase.webapp.tutorial.
In the Name field,
enter LoginBean.
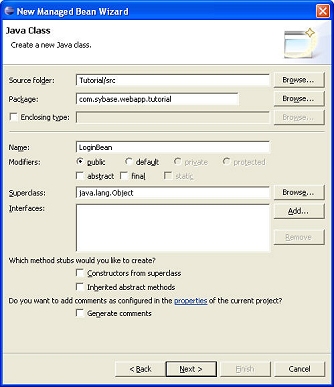
Accept the remaining default values and click Next. Sybase WorkSpace displays the Managed Bean Configuration page.
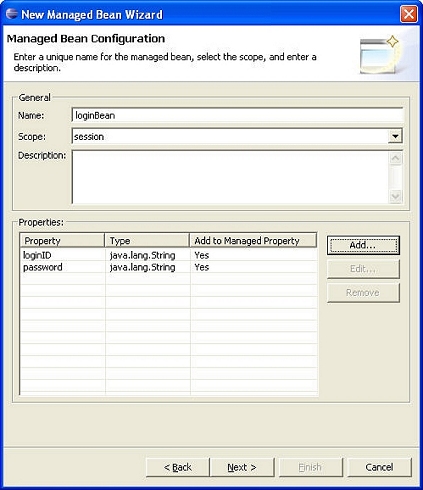
In the Managed Bean Configuration page, click Add.
The Create Property dialog box displays.
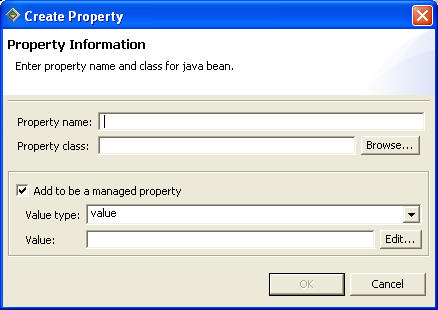
Enter the property information for the login ID:
In the Property name field,
enter loginID.
In the Property class field,
enter java.lang.String.
In the Value field,
enter sybase.
The Value type field displays value. Keep the rest of the defaults and click OK.
Click Add again to enter the property information for the password.
In the Property name field,
enter password.
In the Property class field,
enter java.lang.String.
In the Value field,
enter sybase.
The Value type field displays value. Keep the rest of the defaults and click OK.
In the New Managed Bean wizard, click Next.
Review the Summary page.
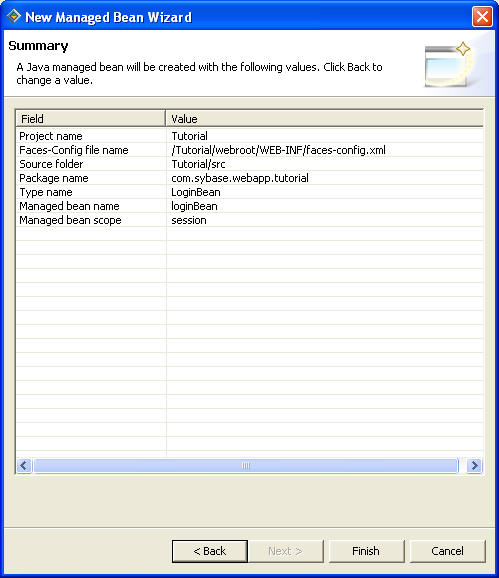
Click Finish to create the Java managed bean.