![]()
![]()
![]()
![]()
In this lesson, you create a message service for the SybStore application. You configure the new service in subsequent lessons.
Collect and write down the following information from your enterprise’s e-mail system administrator. You cannot complete this tutorial without this information.
SMTP e-mail host
SMTP e-mail user name
SMTP e-mail password
SMTP e-mail port
Select Window|Open Perspective|Service Development from the main menu bar to open that perspective.
Select File|New|Service from the main menu bar.
The Create a Service wizard appears.
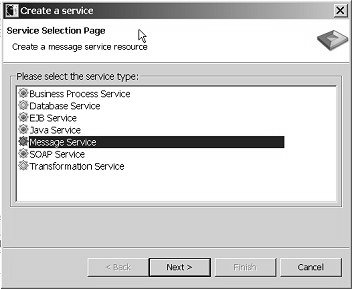
Select Message Service and click Next.
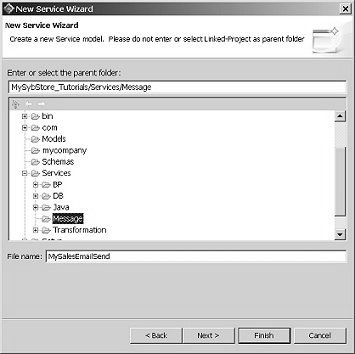
Select MySybStore_Tutorials/Services/Message to populate the Enter or Select the Parent Folder field.
Enter MySalesEmailSend in
the File Name field and click Next.
On the Service Summary page, select Messaging as the Service Information Category and click Next.
On the Service Endpoint Creation page, select Yes, Create An Endpoint Now and click Next.
Accept the default name “endpoint” for the service and click Next.
On the Messaging Type page, select Email and click Next.
On the Connection Properties page, select User Specified and enter the host, password, port, and user for your e-mail configuration.
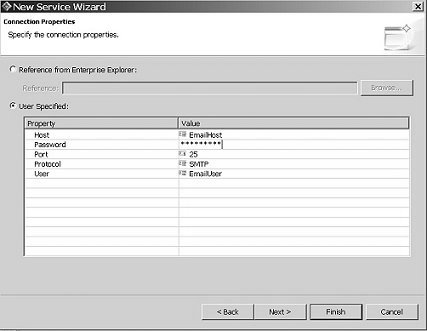
Click Finish. The message service is created and opens in the Message Service Editor.
Leave the message service open for the next lesson.
