![]()
![]()
![]()
![]()
SQL files provide a convenient way to group together SQL statements for later execution and reuse in a project. This lesson teaches you how to create a SQL file and perform some basic operations on that file.
Select Window|Open Perspective|Database Development on the Sybase WorkSpace main menu bar.
![]() If the Database Development perspective is not on the
Open Perspective context menu, select Window|Open
Perspective|Other, choose Database
Development from the Select Perspective dialog
box, and click OK.
If the Database Development perspective is not on the
Open Perspective context menu, select Window|Open
Perspective|Other, choose Database
Development from the Select Perspective dialog
box, and click OK.
The Database Development perspective displays the WorkSpace Navigator view on the top left, with the Database Explorer and Enterprise Explorer view on the bottom left.
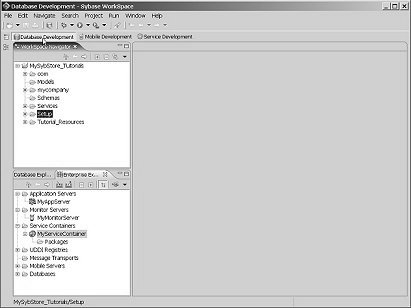
You should see the MySybStore_Tutorials project folder in the WorkSpace Navigator.
![]() If you do not see the MySybStore_Tutorials
project, you have not completed the required tutorial setup. You
must complete all of the installation and setup procedures in Chapter 1, “Introduction, Installation, and Setup.”before you begin
the tutorial.
If you do not see the MySybStore_Tutorials
project, you have not completed the required tutorial setup. You
must complete all of the installation and setup procedures in Chapter 1, “Introduction, Installation, and Setup.”before you begin
the tutorial.
Select File|New|SQL File from the Sybase WorkSpace main menu to open the New SQL File wizard.
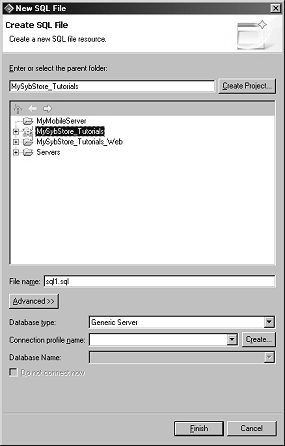
Complete these Create SQL File options:
In the tree view, expand MySybStore_Tutorials and select the MySybStore_Tutorials/Setup/Database/SQL folder to populate the Enter or Select the Parent Folder field.
File Name – enter play.sql.
Database Type – select Adaptive Server Anywhere_9.x from the drop-down list.
Connection Profile Name – select MySybStore from the drop-down list.
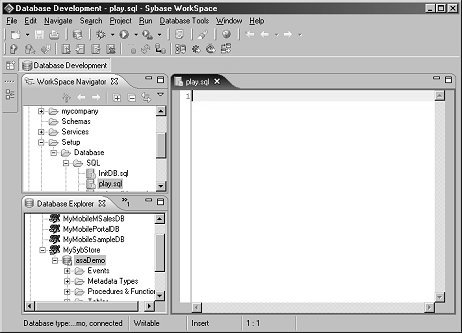
Select Finish. The empty play.sql file is created and opened in the editor.