
Chapter 5 Using MS Word with a requirements model
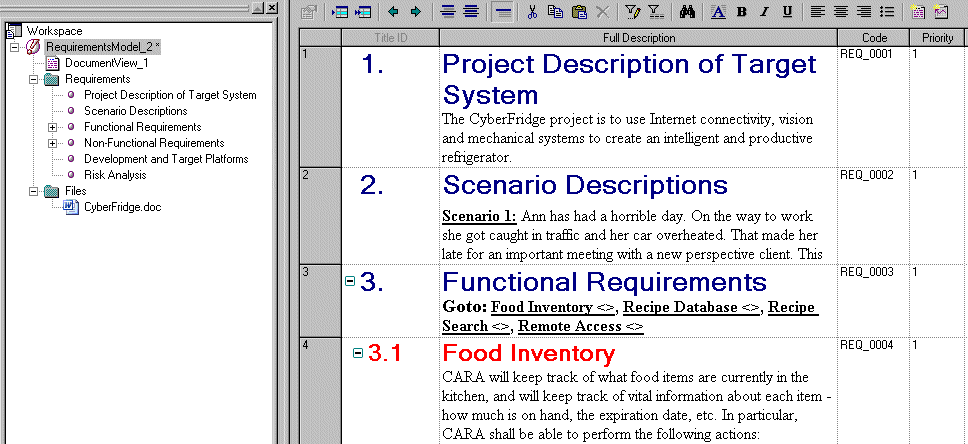
An MS Word document can contain one or several titles, with their associated text, that you would like to use as requirements.
The first time you open or create a Requirements model, the MS Word Import Export add-in is registered in HKEY_CURRENT_USER\Software\Microsoft\Office and by default the Requirements menu...

... and toolbar.

should appear in the MS Word interface.
If the menu and toolbar do not appear in MS Word or if you want to remove them, select Tools→Customize, in the Commands page select Tools in the Categories pane and select COM Add-Ins in the Commands pane, and drag this command to any menu item. Select the COM Add-Ins command to display the COM Add-in dialog box and select the PowerDesigner Requirements COM Add-Ins for MS Word check box to display the add-in menu and toolbar. If you deselect the check box, the add-in menu and toolbar disappear from your MS Word environment.
Note: Having several versions of PowerDesigner installed on your machine does not mean you will have several toolbars and menu bars corresponding to each add-in version. The latest version of PowerDesigner used to create or open a Requirements model disables previous versions.
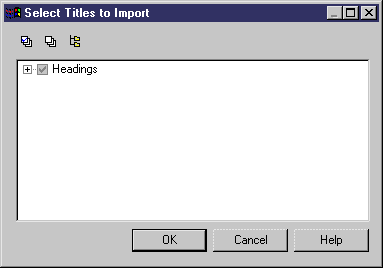
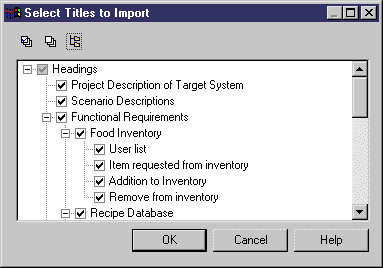
The following procedure assumes you have an MS Word document open, with MS Word-based headings.
![]() To use MS Word to create a requirements model:
To use MS Word to create a requirements model:


| Copyright (C) 2005. Sybase Inc. All rights reserved. |

| |