
Chapter 5 Using MS Word with a requirements model
Importing an MS Word document as a requirements model
In PowerDesigner, you can call the Import feature in different ways:
- Use the File menu
- Right-click an empty requirements model and select Import from Word Document in the contextual menu
- Right-click an empty requirements package and select Import from Word Document in the contextual menu
The following procedure assumes you have an MS Word document available, with MS Word-based headings.
 To import an MS Word document using the File menu:
- In the PowerDesigner menu bar, select File→Import→Word Document.
The Open dialog box appears.
- Select a directory in the Look in dropdown listbox, and an MS Word file (.doc) in the list.
- Click Open.
The following message appears in the PowerDesigner window.

- Click Yes, if you want the MS Word document to be linked to the requirements model, so as you can synchronize them later on. The Save As dialog box appears. Select a directory in the Save in box, type a name in the File name box, and click Save.
or
Click No, if you do not want the MS Word document to be linked to the requirements model.
A message appears indicating that the MS Word document is being parsed to extract its paragraph titles. You can cancel the parsing at any time, only the parsed sections are converted into requirements.
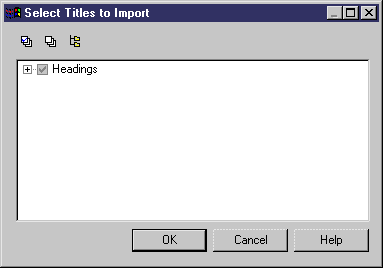
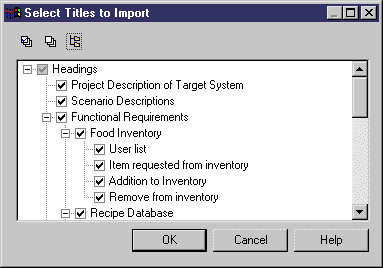
When the parsing is over, the Select Titles to Import dialog box appears.

- Click the Expand All tool to display all titles.

All titles are selected by default.
You can click the Deselect All tool, and then select the titles you want to convert as requirements.
- Click OK.
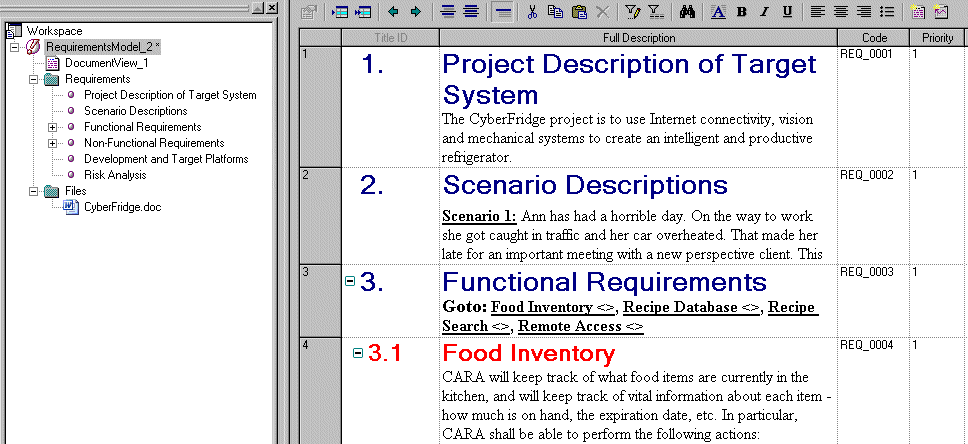
The MS Word document appears in the workspace as a requirements model.

The Files folder in the Browser tree view contains the file of the linked MS Word document.
|
Copyright (C) 2005. Sybase Inc. All rights reserved.
|

|


![]() To import an MS Word document using the File menu:
To import an MS Word document using the File menu:


