In this section we add a sales group to the sample database.
Select the Users & Groups folder. You may need to expand the sample database container in the left panel to do this.
Click New Group  toolbar button,
or choose Alt+F, N, G.
Type the name Sales in the text box. This is the name of the user group. Click Next.
Click the checkbox “Allow this group to connect.”
Type a password, for example, Sales; confirm it by tabbing and typing it again. Click Next.
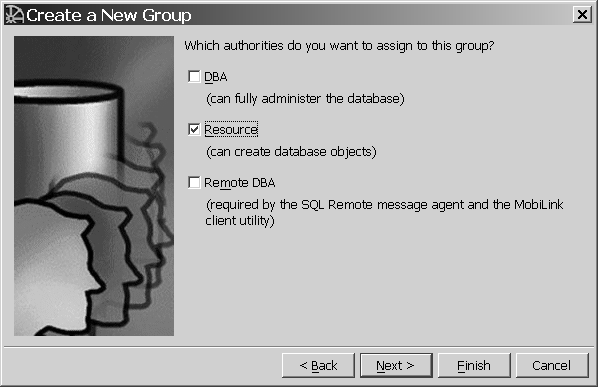
Check the Resource authorities option and click Next.
Figure 4-1: Creating a new group

Clicking Next gives you the option of typing a comment for this group.
Click Finish to create the new group.
The container automatically refreshes and displays the new group, Sales.