The repository administrator must set up the repository on a database server running one of the supported DBMSs.
In order to calculate the size required for your repository database, you need to estimate the number of models that will be stored and the period during which they will be developed. Repository models are stored as efficiently as possible, with only changed objects being re-saved.
An average model containing 100 primary objects (tables or classes) will have an initial disk size of 5MB and the size of its initial check in will be around 10MB. Assuming an average number of edits, each subsequent check in will add 10% to the size of the file, so that after an average development period of two months (40 working days) with one check in per day, the final model file size will be 10MB*1.140 or approximately 500MB. If your team will develop 20 models during the course of the year, you should allow 10GB of space for your repository database.
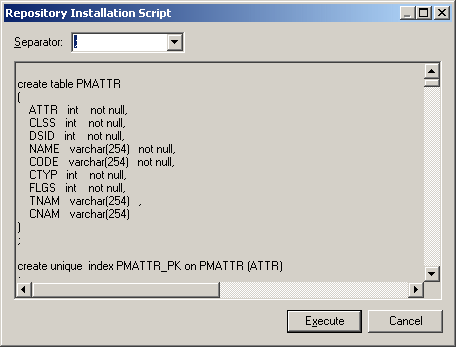
- The read-only Repository Installation Script window opens. Click Execute to run the script and create the repository tables:Note: Although you cannot edit the script in the Repository Installation Script dialog, you can, nonetheless, modify the statements (for example, to add physical options) by copying the script to an external SQL editor, making the appropriate edits, and then connecting to the database to execute the script outside of PowerDesigner. The Separator list in the dialog lets you select the separator appropriate to your interpreter.
When the repository has been successfully installed, a final message "Repository installation completed" is displayed in the Output window. In the repository Browser, the root of the repository tree now displays the repository name, the repository user and the current branch (MyBase::ADMIN::<Default>), and is ready for use.
-
By default, database tables are owned by the user who creates them. Each repository user should either use the same database user name and password to access the repository, or have an account that gives them full rights over all the tables.
-
Repository installation may occasionally fail due to network problems, insufficient disk space, or permission problems, and you can choose whether to ignore the errors or abort the installation. We recommend that, if you are unsure, you abort the installation, and start again.