Sybase IQ provides a shortcut to connection information that you can use to:
Connect using ISQL
Simplify database startup
Simplify connection from Sybase Central
To insert from an Adaptive Server Enterprise database to a Sybase IQ database, each server must have an entry, also called a server object, in the interfaces file. Use DSEDIT (Directory Services Editor) to create entries in the interfaces file. You must be the owner of the Sybase home directory (%SYBASE%) in order to run DSEDIT.
Once you add servers to this file, the Server Name dropdown box is enabled wherever Sybase Central requests connection information. When you tab to the dropdown box, pressing the space bar lists all the entries you created with DSEDIT. You can choose a server from the list or just press the first letter of the server name you want to use. Pressing the same letter multiple times cycles through all the values that begin with that letter.
![]() You must use dbisql, not isql to
access multiplex databases.
You must use dbisql, not isql to
access multiplex databases.
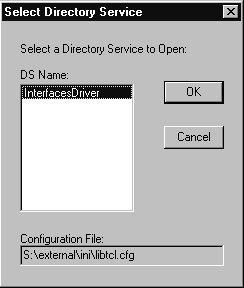
Open the Utilities folder in Sybase Central and double-click Directory Services Editor.

Click OK.
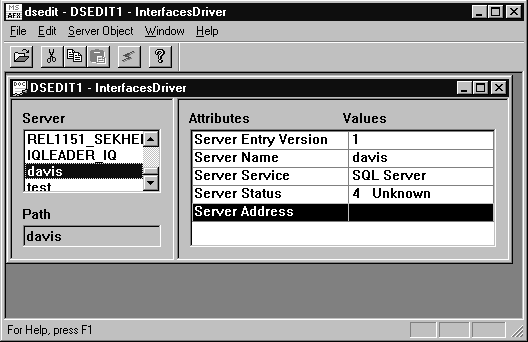
Select Server Object > Add from the menu bar.
Type the server name. The server name in your DSEDIT entry must be the same as the database name. Click OK when finished.
Select Server Address.

Right-click on Server Address and select Modify Attribute.
Click Add.
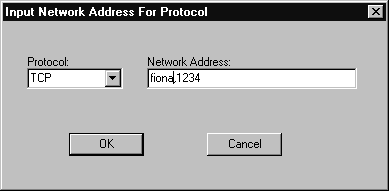
Use the dropdown box to select the desired protocol. For example, TCP.
In the Network Address box, type the hostname and port number, separated by a comma, for example:

You can substitute the network address for the hostname (for example, “157.133.75.47,1234”).
Click OK.
To test the server's availability right-click on any of the Attributes and select Ping Server.
Click Ping to test the server.
Click OK and Done when finished.
Object names allow all users at your installation to connect more quickly. They can simply click the Server Name dropdown to choose from all servers defined and supply their own usernames and passwords to connect.