Open forms, reports, and queries

Note

First you learn about using the Library painter to open forms, reports, and queries. When you open one of these, you automatically go to the appropriate painter. (This is also true for pipelines, but you do not work with pipelines in this tutorial.)

  1. Click the Library button in the PowerBar.

    Shown is the Power Bar with the Library button circled.

    The Library painter workspace displays.

  2. Select View>Most Recent Object from the menu bar.
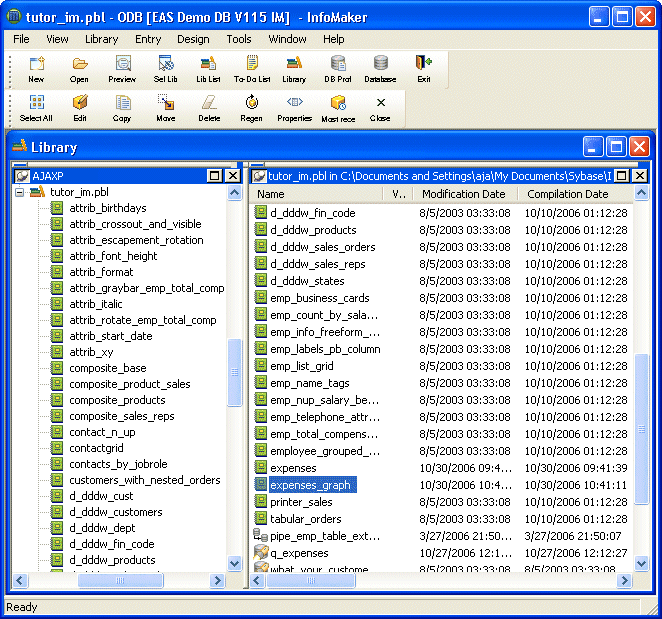
    Shown is the Library painter work space. On the left is a tree view with tutor _ i m  dot pibble expanded. At right is a  list view with columns labeled Name, V dot dot dot, Modification Data, and Compilation Date. All the forms, queries, reports, and pipelines for the current library are listed.. The expenses _ graph is highlighted.

    The painter lists the forms, queries, reports, and pipelines in the current library and selects the object you worked on most recently. When you install InfoMaker, the current library is the InfoMaker sample library (tutor_im.pbl).

    The list includes many samples as well as the form, query, and reports you created earlier.

  3. Scroll the list to the bottom until you see the form contact_maintenance, which is the form you created earlier.

    Double-click the form.

    The form displays in the Form painter. Accessing your form by double-clicking its name in the Library painter is the same as opening the form in the Form painter.
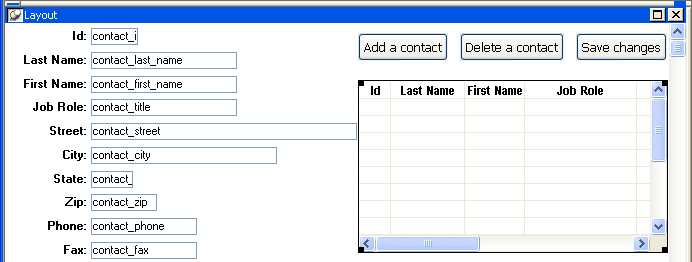
    Shown is the Layout view for the contact _ maintenance form.  At left are labeled text fields such as I D and Last Name for entering or editing a contact. Across the top right are buttons labeled Add a contact, Delete a contact, and Save changes. Under them is a scrollable table of contacts. Visible are columns labeled ID, Last Name, First Name, and Job Role.
  4. Click the Run button in the PainterBar.

    Run button

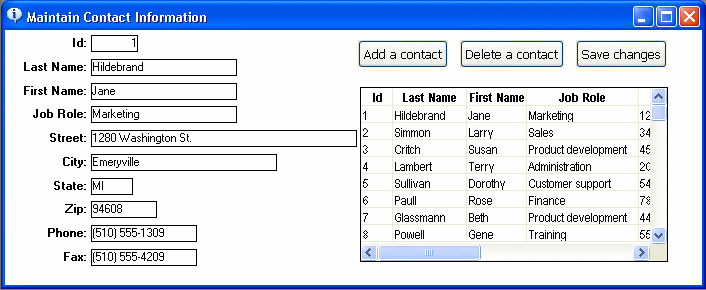
    Your form runs.

    Shown is a completed form titled Maintain Contact Information. At left are labeled text fields with actual data for a contact. Across the top right are buttons labeled Add a contact, Delete a contact, and Save changes. Under them is a scrollable table of contacts. Visible are columns of data labeled ID, Last Name, First Name, and Job Role.
  5. Click the Close button in the PainterBar.

    Close button

    The running form closes.

  6. Select File>Close from the menu bar.

    You return to the Library painter. Now you look at some other forms.

  7. Double-click the form customer_maintenance.

  8. Click the Run button in the PainterBar.

    Run button

    This form is for maintaining customer information.
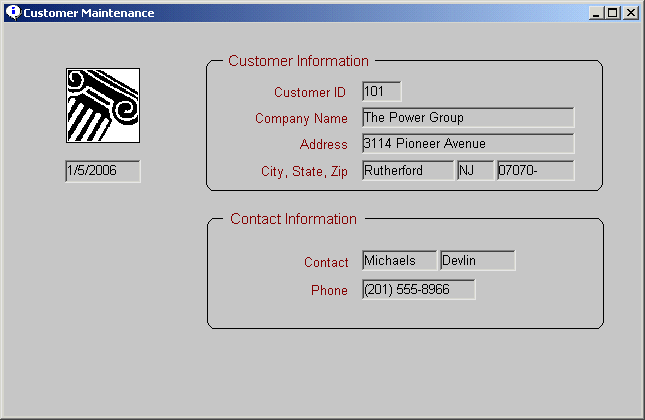
    Shown is the customer maintenance form. At left is an icon and below it, the date. At top right is a Customer Information group box with Customer I D and Company Name and Address. Below this is a group box with Contact Information, including name and phone number.
  9. Click the Close button to return to the Form painter workspace.

    Select File>Close from the menu bar to return to the Library painter.

    Close button
  10. Double-click the report emp_total_compensation.

    The report displays in the Report painter.

  11. Scroll the report in the Preview view.
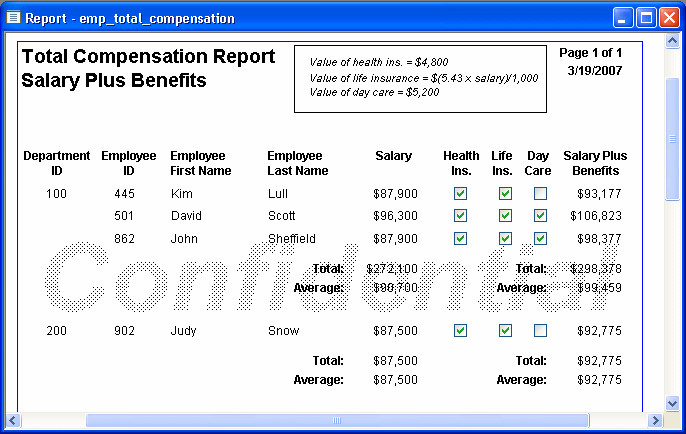
    Shown is a report in Preview view titled Total Compensation Report Salary Plus Benefits. It has columns for Department I D, Employee I D, Employee First and Last Names, and Salary. Next are check boxes for Health and Life Insurance and Day Care. The final column shows the value of Salary Plus Benefits. Rows of data are sorted by Department I D, then Employee I D. At top right is text describing the value of each benefit. At top far right are  page number and date.
  12. Select File>Close from the menu bar.

    The Report painter closes and the Library painter displays.