Add server-side events, which are executed during runtime, to your DataWindow objects. DataWindow server-side events are implemented in Java code with a defined event handler interface.
![]() Creating the Web page and adding the DataWindow
object
Creating the Web page and adding the DataWindow
object
In this tutorial, you will create a Web page called employee.jsp to which you will then add server-side events to a DataWindow object. The server-side events enable you to page through the employee information retrieved from the server using the Previous and Next buttons.
Select File|New|Web Page from the menu bar to open the New Web Page File wizard.
In the Create a New Web Page File page, make sure that parent folder is Tutorial\webroot.
In the File name field,
enter employee, and click Finish.
Sybase WorkSpace creates the employee.jsp with the default JSF contents and opens it in a Web Page editor.
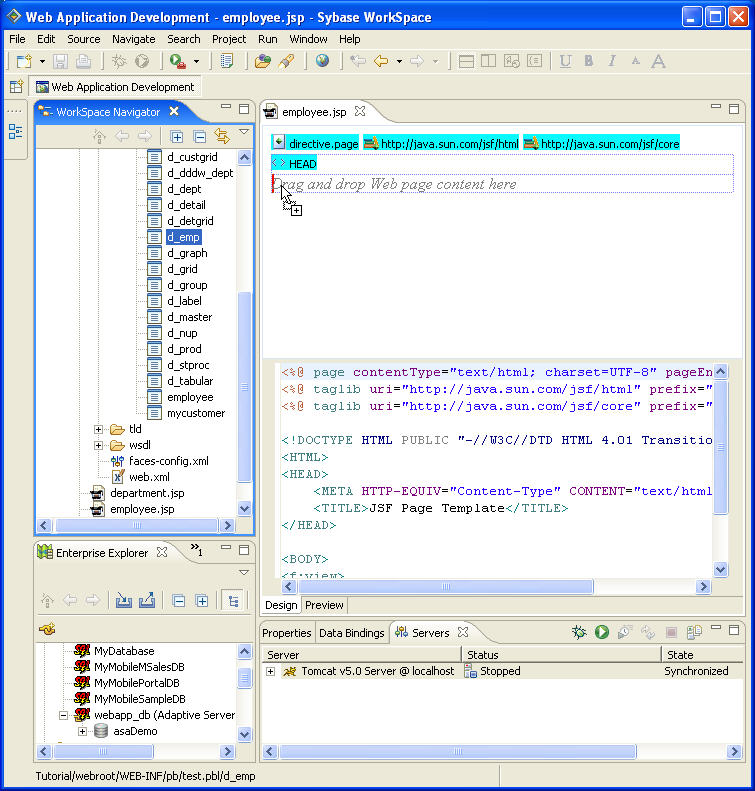
To add server-side events to the Web page, in WorkSpace Navigator, expand the Tutorial\webroot\WEB-INF\pb\test.pbl folder and drag and drop the d_emp DataWindow onto the design pane of the employee.jsp page.
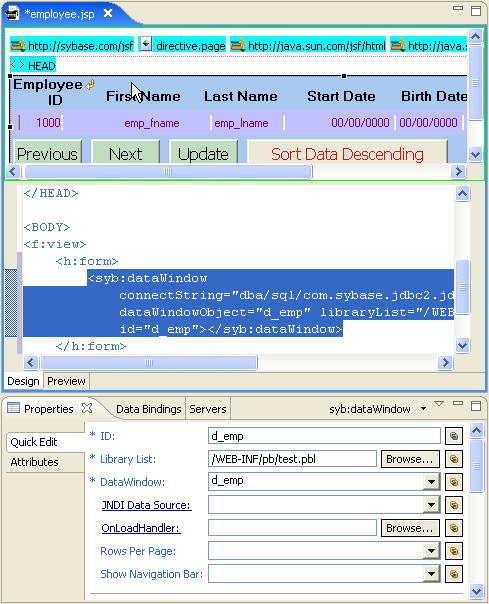
To display the properties for the Employee ID DataWindow object, click the object in the design pane and then click the Properties view.
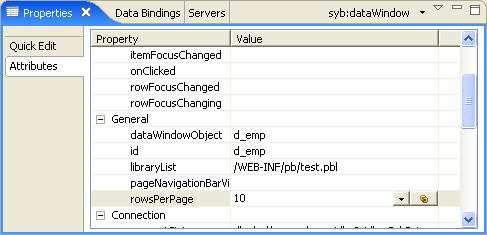
In the Properties view, select the Attributes tab.
Locate the rowsPerPage attribute
under the General category, and enter 10 in
the Value column to display 10 records
per Web page.
![]() Adding a messages control to the Web page
Adding a messages control to the Web page
Select Window|Show View|Palette from the main menu to add a messages control to the Web page.
In the Palette, expand the JSF HTML folder, and then drag and drop a messages control directly after the Employee ID DataWindow on the employee.jsp page.
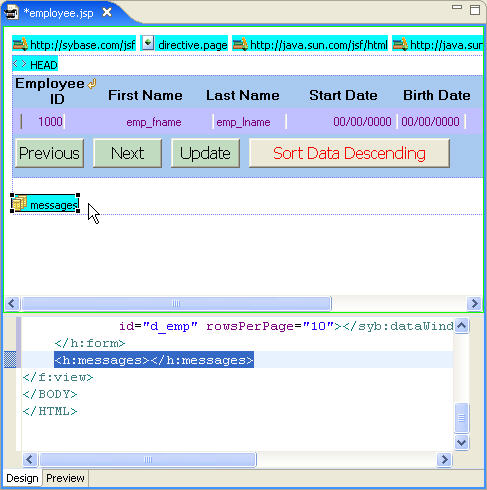
If not selected, click the messages control in the design pane, and in the Properties view, select the Quick Edit tab.
In the ID field, enter retrieveMsg.
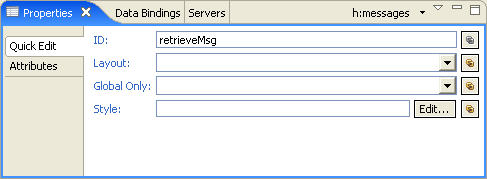
To add a DataWindow object retrieve listener, right-click the Employee ID DataWindow in the employee.jsp page, and select Add Listener|RetrieveListener from the context menu.
In the Create retrieveListener dialog box, click Type to create a new Java class.
The New Java Class dialog box opens.
In the Source Folder field, make sure it reads Tutorial\src.
In the Package field, enter com.sybase.webapp.tutorial.
In the Name field, enter MyRetrieveListener.
Accept the remaining default settings and click Finish to create the Java class and return to the Create retrieveListener dialog box.
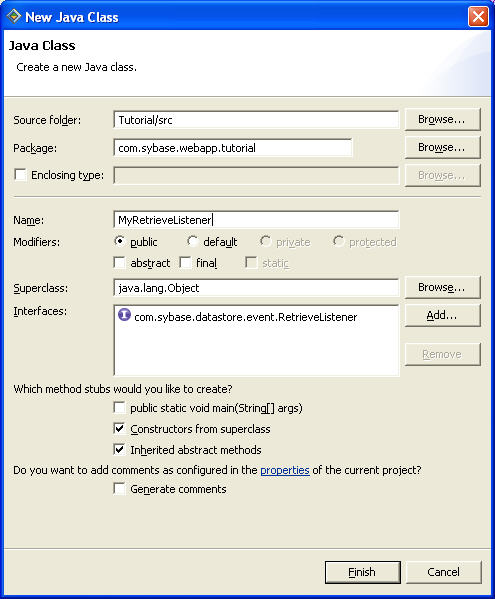
In the Create retrieveListener dialog box, click OK to create the MyRetrieveListener interface and add it to the Interfaces list.
Next, you are going to replace the default generated code in the Web Page editor with provided sample code that enables the display of messages in the Web browser as data is retrieved from the database.
Select File|Open File from the main menu bar to open the following file:
<installation directory>\sybase_workspace\web_development\eclipse \plugins\com.sybase.stf.jmt.template_1.5.0\tutorial\src\com\sybase \webapp\tutorial\MyRetrieveListener.java
Copy the contents of the Sybase-provided MyRetrieveListener.java file and replace them with the existing contents of the MyRetrieveListener.java file in the Web Page editor, and then close the Sybase-provided Java file.
Select File|Save from the menu bar to save the MyRetrieveListener.java file.
![]() Testing the Web page on the Tomcat 5.0 server
Testing the Web page on the Tomcat 5.0 server
If necessary, save the employee.jsp file.
In the WorkSpace Navigator, right-click employee.jsp and select Run from the context menu.
Select Choose an existing server, select Tomcat v.5.0Server @ local host from the list, and click Finish.
The Apache Tomcat server starts, and the JSP Page Template opens.
To test the Web page, click the Previous or Next button at the bottom of the window.
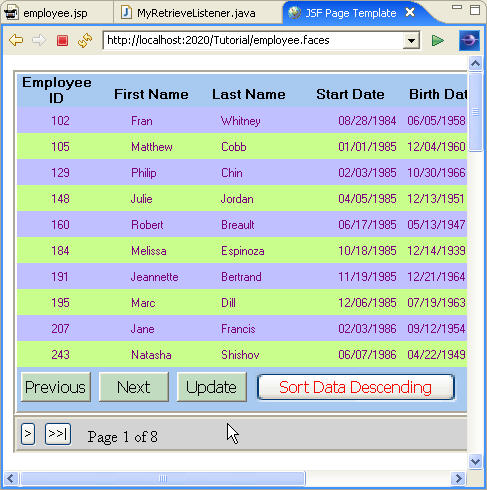
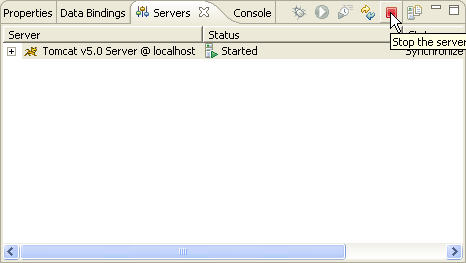
Before continuing, click the Stop the server icon in the Servers view to stop the server.
Now you are ready to add client-side events to a DataWindow object, as described in “Lesson 2: Add client-side events,” below.