During the debugging process, one way to ensure that data modifications are consistent throughout all tables in a database is called referential integrity. To manage referential integrity, you can create triggers that take effect when you give insert, update, and delete commands for particular tables or columns.
You can view the contents of the inserted and deleted special tables, which contain data that the trigger inserts, deletes, or updates (delete followed by insert). These special tables are temporary and exist only in memory during trigger execution. Once the trigger stops running, these tables no longer exist. After debugging, you would want to remove or comment out these Select * from statements.
In this lesson, you will learn how to view and change contents of the sample titles table, and how to query the contents of the inserted special trigger table so that you can view its contents in the SQL Results view.
![]() Before you can perform this tutorial, you must create
the insert_title trigger and run it,
as described above.
Before you can perform this tutorial, you must create
the insert_title trigger and run it,
as described above.
If necessary, select Window|Open Perspective|Database Development from the main menu bar to open the Database Development perspective.
Find the insert_title trigger that you created in “Lesson 2: Create a new trigger”.
In the Database Explorer view, expand the Tables folder under the appropriate pubs sample database. Next, expand the titles folder and then the Triggers folder.
Double-click the insert_title trigger to open it in the SQL Editor.
Next, add select statements to the trigger that return the contents of the inserted rows in the SQL Results view.
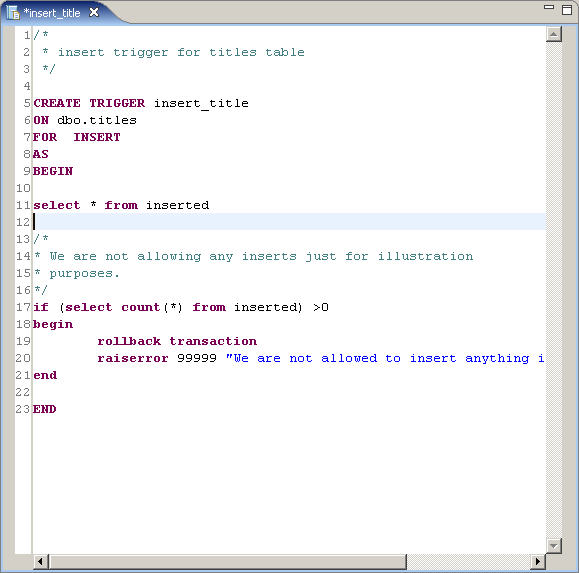
Add the following SQL statement to the trigger after the BEGIN command but before the comments (line 11).
select * from inserted
Format your code in the SQL Editor to look like this.

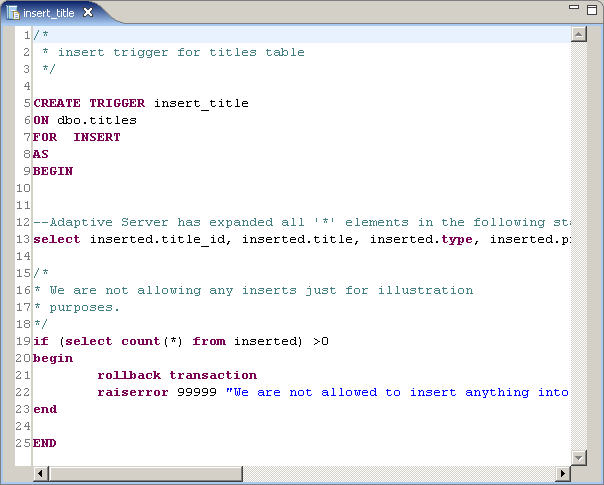
Right-click anywhere in the SQL Editor window and select Save to Server to save the changes.
The server expands the * (asterisks) contained in the select statement.

Next, add breakpoints to prepare for debugging the trigger.