

Chapter 4 Working with a Requirements Model
Add requirements in a Requirements tab
The following procedure assumes you have a design model and a requirements model open in the workspace.
 To add requirements in a Requirements tab:
- Double-click the object symbol in the diagram. (e.g. a use case from an OOM)
The object property sheet is displayed.
- Click the Requirements tab to display the Requirements tab.
- In the Requirements tab toolbar, click the Add Objects tool.
The Add Objects dialog box is displayed with the requirements model selected and its root requirements displayed in a check list.
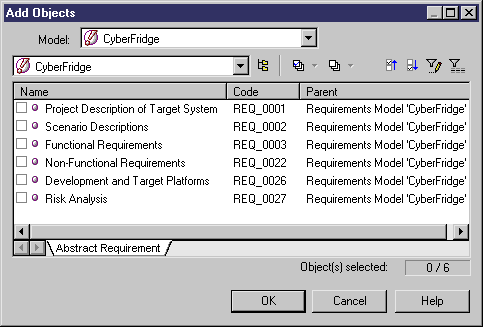
- In the Add Objects toolbar, click the Include Sub-Objects tool to display all the requirements, and select the requirements you want to attach to the design object.
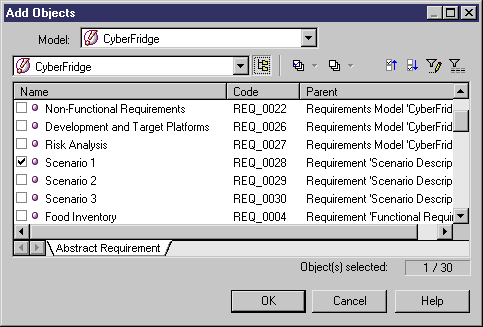
- Click OK.
The attached requirements appear in the Requirements tab of the design object property sheet.
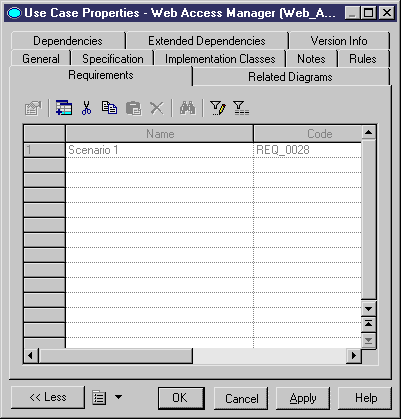
- Click OK.
or
Click Apply.
- < If you clicked Apply > Double-click the row number corresponding to a requirement in the list.
The requirement shortcut property sheet is displayed.
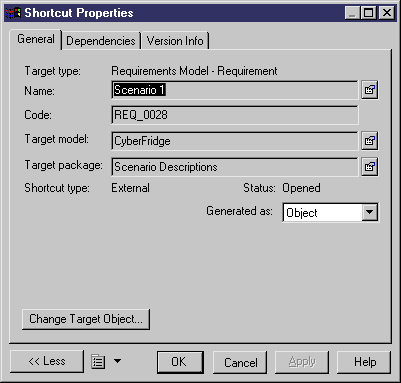
- Click the Properties tool beside the Name box to display the requirement property sheet.
- In the requirement property sheet, click the Traceability Links tab to display the list of linked objects.
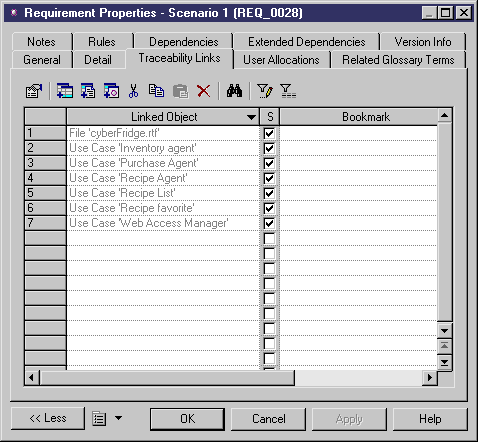
The design object, to which the requirement has been attached, is displayed as a linked object in the Traceability Links tab of the requirement property sheet.
- Click OK in each property sheet (requirement, shortcut and design object).
|
Copyright (C) 2006. Sybase Inc. All rights reserved.
|

|


![]() To add requirements in a Requirements tab:
To add requirements in a Requirements tab:


