

Chapter 9 Setting up the database server
Installing the Adaptive Server Anywhere authenticated server
 To install the Adaptive Server Anywhere authenticated server:
- Insert the software CD-ROM in the drive.
- Click the Install Adaptive Server Anywhere button.
The Sybase Adaptive Server Anywhere installation program opens to the Choose Location page.
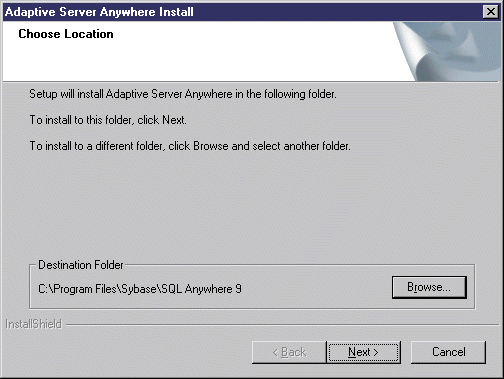
- Select a destination folder using the Browse button and click Next.
The Choose Shared Components Location page appears.
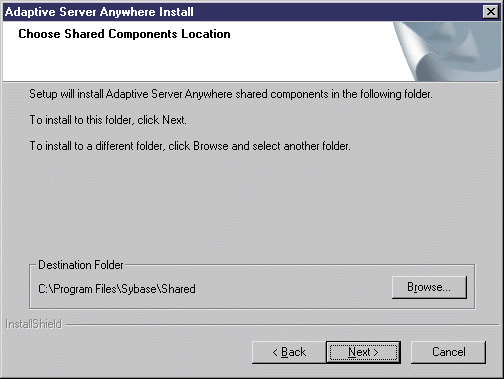
- Select a destination folder for the shared components using the Browse button and click Next.
The Select Components page appears.
- Expand the Adaptive Server Anywhere node and select Network Database Server. By default, the Personal Database Server check box is also selected. You can also select Database Tools, Interactive SQL, together with the tools in the Tools node.
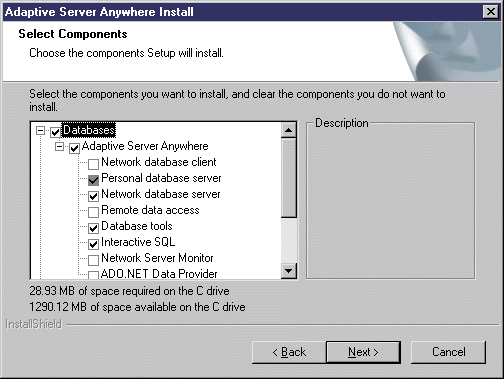
- Click Next.
The Server License page appears.
- Type the total number of licenses in the Licensed Seats and make sure the Networked Seat (per-seat) model radio button.
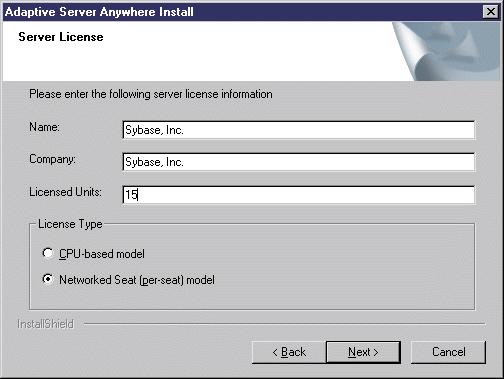
- Click Next.
The Select Program Folder page appears.
- Accept the proposed folder or type a new folder name in the Program Folders box.
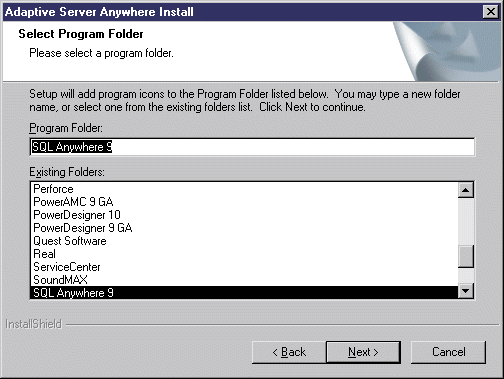
- Click Next.
The Start Copying Files page appears with a summary of all the installation options you have selected.
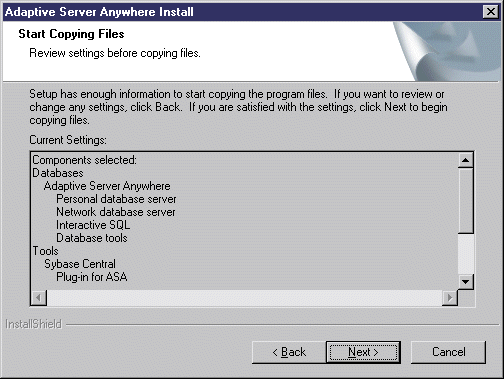
- Click Next to start the installation of the Adaptive Server Anywhere Server.
The Select Components dialog box appears to let you install the HTML documentation.
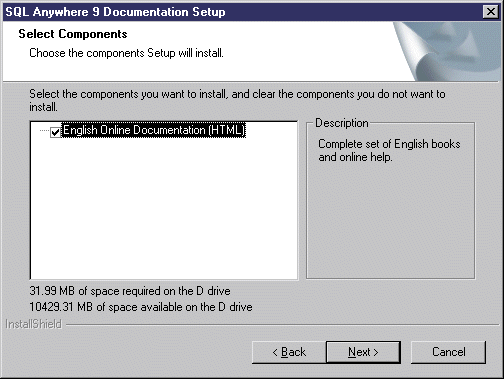
- Select or clear the English Online Documentation (HTML) component check box and click Next.
The Setup Complete page appears.

- Click Finish.
The ReadMe file appears in a text editor.
- Read the ReadMe file then close the text editor.
Another InstallShield Wizard Complete page appears asking you to restart your computer.
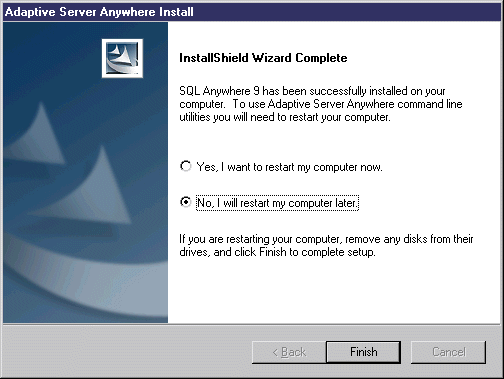
- Select the Yes radio button and click Finish to restart your computer.
|
Copyright (C) 2005. Sybase Inc. All rights reserved.
|
|