
Chapter 3 Building Physical Diagrams
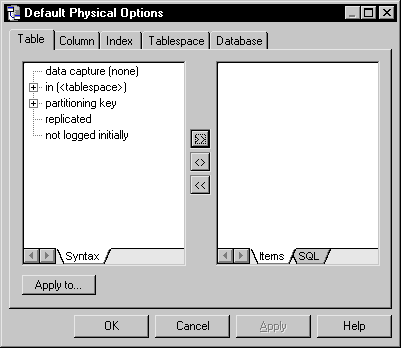
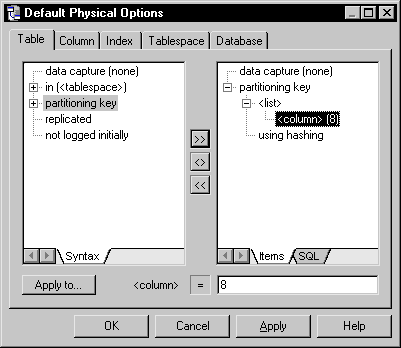
Default physical options define physical options for all the objects in the model. The Default Physical Options dialog box has tabs corresponding to each type of object in the model.
The default physical options are stored in the DBMS definition file. When you create a new model, you can choose to share the standard DBMS definition file or to create a copy of it. If you are sharing the DBMS definition file, then any changes that you make to the default physical options will be applied to all the models that share the definition.
For information on DBMS definition files, see the "Physical Data Model Basics" chapter.
The values you assign for default physical options can be included in a database creation script that you generate from a PDM, or can be directly generated in the target database via ODBC. You select the appropriate default physical options from the Selection page of the Database Generation dialog box.
You can view the script for a physical option in the Preview page for the object for which it is defined.
Physical option default values can also be reverse engineered from a database into a PDM.
![]() To define default physical options:
To define default physical options:

| Tool | Action when clicked |
|---|---|

|
Adds physical option selected in Syntax page (left pane) to Items page (right pane) |

|
Aligns a selected physical option in the Items page with the corresponding physical option in the Syntax page |

|
Removes physical option selected in Items page |

| Tool | Action when clicked |
|---|---|

|
Adds physical option selected in Syntax page (left pane) to Items page (right pane) |

|
Aligns a selected physical option in the Items page with the corresponding physical option in the Syntax page |

|
Removes physical option selected in Items page |

| Copyright (C) 2005. Sybase Inc. All rights reserved. |

| |