
Chapter 14 Working with Java
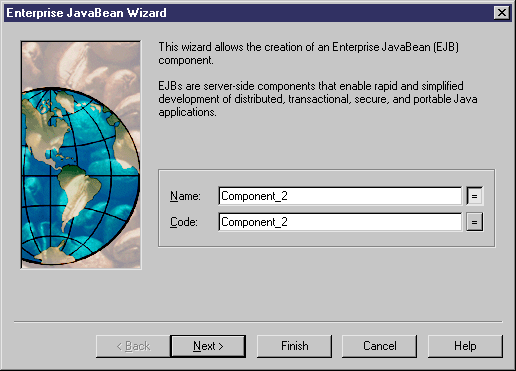
You can create an EJB component with the wizard that will guide you through the creation of the component. It is only available if the language is Java.
The wizard is invoked from a class diagram. You can either create an EJB without selecting any class, or select a class first and start the wizard from the contextual menu of the class.
You can also create several EJBs of the same type by selecting several classes at the same time. The wizard will automatically create one EJB per class. The classes you have selected in the class diagram become the Bean classes. They are renamed to fit the naming conventions standard, and they are linked to their component.
If you have selected classes or interfaces before starting the wizard, they are automatically linked to the new EJB component.
When an interface or a class is already stereotyped, like <<EJBEntity>> for example, it is primarily used to be the interface or the class of the EJB.
For more information on stereotyped EJB interface or class, see section Defining interfaces and classes for EJBs.
The EJB creation wizard lets you define the following parameters:
| Property | Description |
|---|---|
| Name | Name of the EJB component |
| Code | Code of the EJB component |
| Component type | Entity Bean CMP, Entity Bean BMP, Message Driven Bean, Session Bean Stateful, or Session Bean Stateless For more information on the different types of EJB, see section Using EJB types |
| Bean class | Class implementing the bean business methods |
| Remote interface | Extends the javax.ejb.EJBObject interface and provides the remote client view |
| Remote home interface | Defines methods and operations used in a remote client view. It extends the javax.ejb.EJBHome interface |
| Local interface | Extends the javax.ejb.EJBLocalObject interface, and allows beans to be tightly coupled with their clients and to be directly accessed |
| Local home interface | Defines methods and operations used locally in a local client view. It extends the javax.ejb.EJBLocal-Home interface |
| Primary key class | Class providing a pointer into the database. It is only applicable to entity beans |
| Transaction | Defines what transaction support is used for the component. The transaction is important for distribution across a network on a server. The transaction support value is displayed in the deployment descriptor. This information is given by the deployment descriptor to the server when generating the component |
| Create symbol | Creates a component symbol in the diagram specified beside the Create symbol In check box. If a component diagram already exists, you can select one from the dropdown listbox. You can also display the diagram properties by selecting the Properties tool |
| Create Class Diagram for component classifiers | Creates a class diagram with a symbol for each class and interface. If you have selected classes and interfaces before starting the wizard, they are used to create the component. This option allows you to display these classes and interfaces in a diagram |
The Transaction support groupbox contains the following values, as per the Enterprise JavaBeans 2.0 specification from Sun Microsystems, Inc.
| Transaction value | Description |
|---|---|
| Not Supported | The component does not support transaction, it does not need any transaction and if there is one, it ignores it |
| Supports | The component is awaiting a transaction, it uses it |
| Required | If there is no transaction, one is created |
| Requires New | The component needs a new transaction at creation, the server must provide it with a new transaction |
| Mandatory | If there is no transaction, an exception is thrown |
| Never | There is no need for a transaction |
The EJB deployment descriptor supports transaction type for each method: you can specify a transaction type for each method of EJB remote and local interface.
You can define the transaction type for each method using an extended attribute from the Profile/Operation/Extended Attributes/EJB folder of the Java object language. If the transaction type of the operation is not specified (it is empty), the default transaction type defined in the component is used instead.
![]() To create an EJB with the wizard:
To create an EJB with the wizard:

When you have finished using the wizard, the following actions are executed:
| Copyright (C) 2005. Sybase Inc. All rights reserved. |

| |