You can create an extension file to share extensions between models of the same type.
- Select to open the List of Extensions.
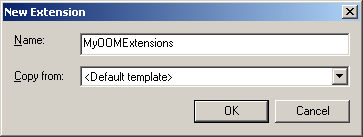
- Click the New tool and enter a name for the new extension:
- [optional] Select an existing XEM in the Copy From box. If you do not select an XEM, a standard empty XEM for the selected model type will be created.
-
Click OK, and enter an appropriate file name in the Save As dialog box.
Note:
If you change the default path, extensions do not appear in the list of extensions. If you want to save your extensions in a specific folder, you have to define a specific named path in the General Options dialog box. For more information, see "Defining Named Paths" in Chapter 8, Customizing Your Modeling Environment of the Core Features Guide.
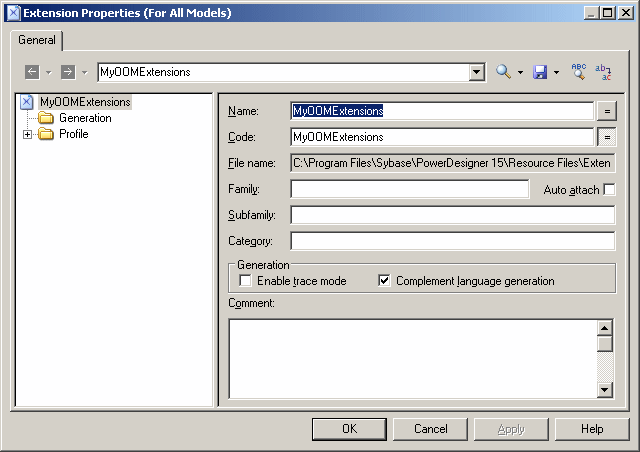
- Click Save to create the file and open it in the Resource Editor:
-
Define the appropriate object extensions and generation tasks, and then click OK to save it and return to the List of Extensions.
The new XEM is now available to be attached to your models (see Attaching Extensions to a Model).

