Standalone mode is the standard method for installing PowerDesigner on one or more individual workstations.
For mass installations and network installation, see Installing PowerDesigner in Silent Mode and Installing PowerDesigner in Administrative Mode.
Non-Administrator users may receive a warning message during installation as setup requires write access on certain directories and on the registry that they may not have. Setup can go on despite this message.
-
Click the Install PowerDesigner 15.1 button to open the welcome page, and then click Next to go to the license selection page:
-
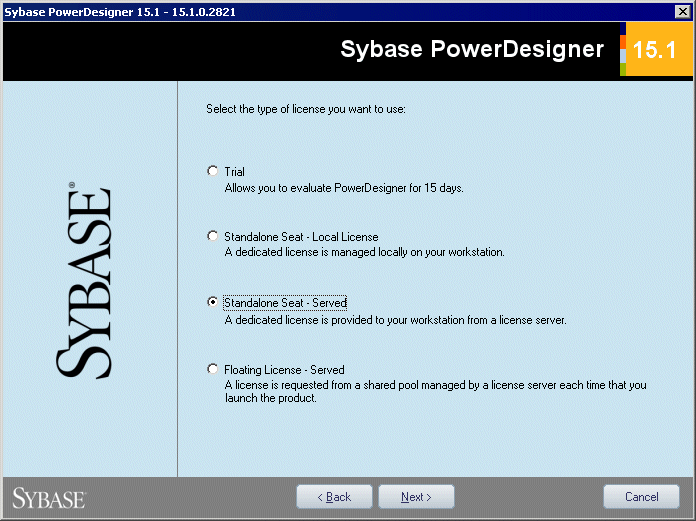
Select one of the following license types, and then click Next to go to the license agreement page.
-
Trial version – is a full-featured version, valid for an evaluation period of 15 days, that allows you to perform any design task. Contact Sybase if you require a limited extension.
-
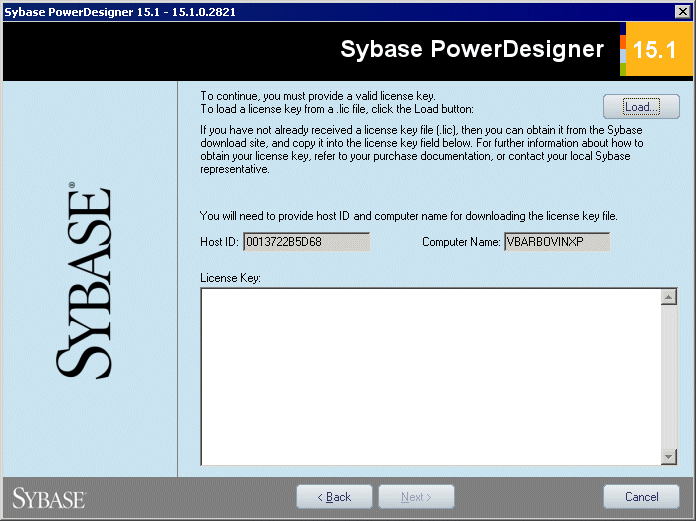
Local standalone license – is installed on and locked to a particular machine. Click Next to go to the license key page, where you must load a valid license file (see Obtaining a license key file).
-
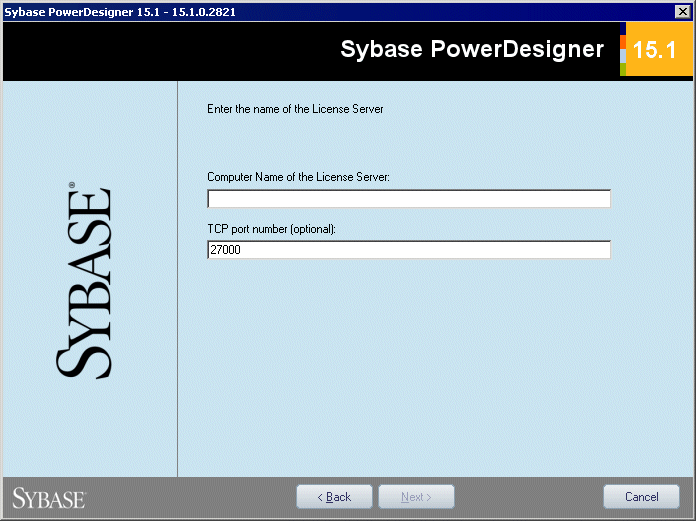
Served standalone license – is provided by one or more SySAM license servers, and is locked to a particular machine. Click Next to go to the license server page, where you must enter the name of your license server.
-
Served floating license – is provided by one or more SySAM license servers, which manage the allocation and recuperation of licenses among a pool of users. Click Next to go to the license server page, where you must enter the name of your license server.
For more information about PowerDesigner licensing, see the Getting Started with PowerDesigner chapter in the Core Features Guide.
-
-
[for served licenses] Click Next to go to the package selection page, where you can select which package to install. The list displays all the packages that are available on the server but it does not necessarily reflect the availability of a license for a particular package:
-
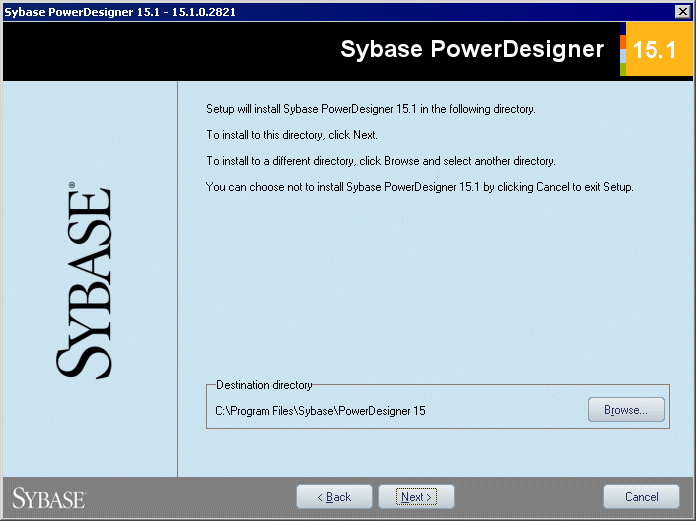
Click Next to go to the directory selection page, where setup suggests a directory in which to install PowerDesigner files. You can specify an alternate directory by clicking the Browse button.
For major versions, this directory is different from the directories for previous major versions of PowerDesigner. We recommend that you do not install a new major version of PowerDesigner in a directory that holds a previous version.
-
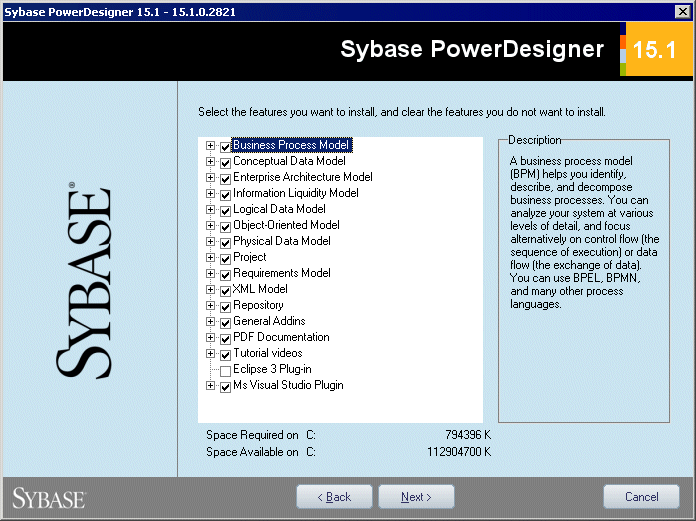
Click Next to go to the component selection page, which lists the products and features that are available to install. Each node can be expanded in order to let you select or deselect sub-features by selecting or clearing the appropriate check box:
Note:-
When modifying an install, if you deselect a check box, the feature will be removed (see Uninstalling PowerDesigner and Installation Maintenance).
-
The PowerDesigner plugin for Eclipse is available for Eclipse v3.1 to v3.4.
-
The PowerDesigner plugin for Microsoft Visual Studio and Team Foundation is available for Visual Studio 2005 to 2008.
-
Addins for third-party software such as MS Word and Visio are not selected by default for installation. If you want to install these addins, expand the General Addins node, and select them for installation.
Select or clear check boxes to add or remove products or features and click Next.
-
-
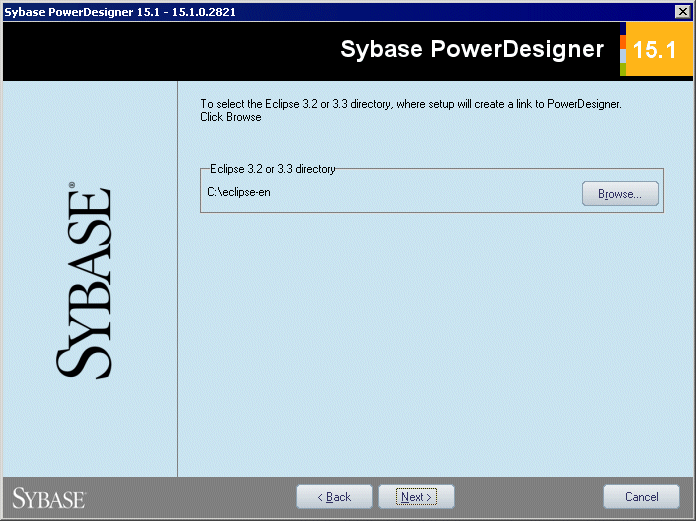
If you selected the Eclipse 3 plug-in in the list of components, the Eclipse directory selection page is displayed. Click the Browse button to specify a directory containing a valid Eclipse installation.
Note:
If you had manually installed the Eclipse plug-in in PowerDesigner version 10 or 11 and want to upgrade to version 15.x you have to remove the plug-in manually. To do so, open the Eclipse directory, and remove any PowerDesigner-related folder under the \configuration, \features, and \workspace\.metadata\.plugins folders.
-
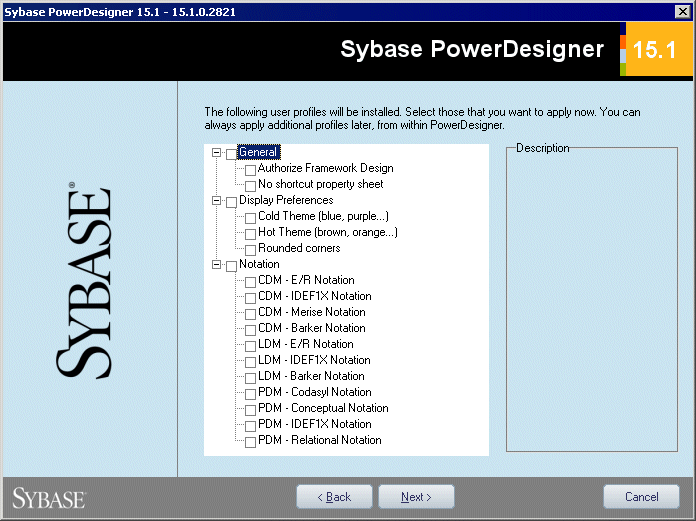
Click Next to go to the user profiles page. Select the user profiles that you want to apply to your installation. All the profiles will be installed and you can change or apply new profiles at any time.
Note that if you select two or more contradictory profiles (for example, E/R Notation and Barker Notation, in the CDM category), the one that appears last in the list will be applied:
For more information about user profiles, including how to make your own profiles available to the installer, see "User Profiles" in the Customizing Your Modeling Environment chapter of the Core Features Guide.
-
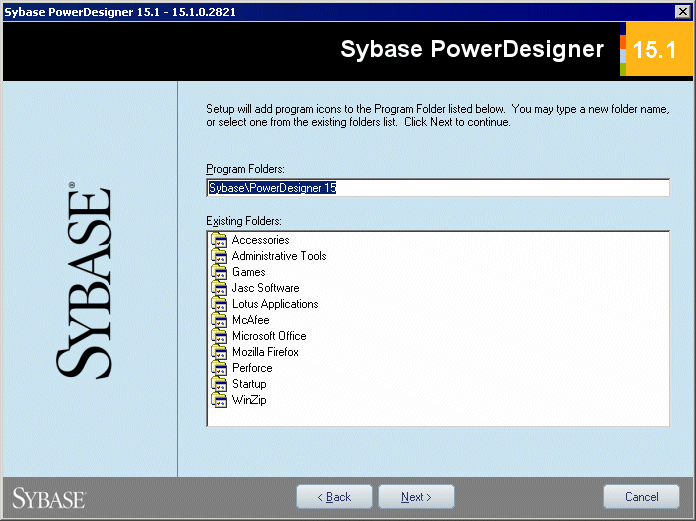
Click Next to go to the program folders page. You can select the default folder, or select or create another:
-
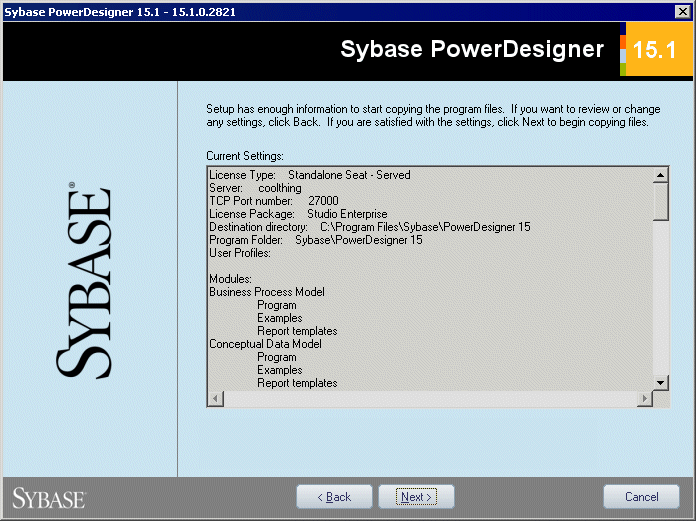
Click Next to go to the current settings page, which lists all your selections. Select the Keep PowerDesigner Settings check box to retain any settings from a previous version of PowerDesigner.