Creating a Branch

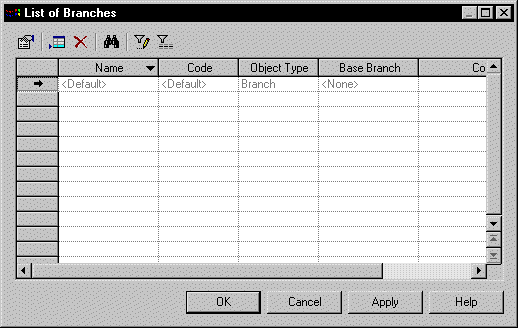
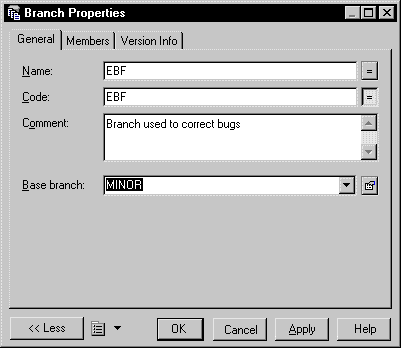
When you connect to the repository for the first time, the <Default> branch is automatically created. This branch is the trunk of the version tree. All future branches that you create will have <Default> as either their base branch or a more distant ancestor.

If you have the Manage Branches right, then you can create branches. Usually, the team leader has this right.

  1. Select Repository > Branches to open the List of Branches:

  2. Click the Add a Row tool to create a new branch, and then click the Properties tool to open its property sheet:

  3. Enter an appropriate Name, Code, and Comment to describe the branch.
  4. Select a base branch from the list. If you select <None>, the new branch will not have a base branch, and will be empty upon creation.
  5. Click OK to return to the List of Branches.