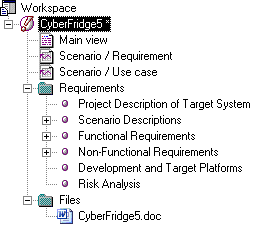
You can export an RQM (or a package containing at least one requirement) into Word format to produce a document in a more portable format.
- In PowerDesigner, select .
- [If the RQM has not been saved] The Save As dialog box will open. Select a directory and enter a file name for the model, and then click Save.
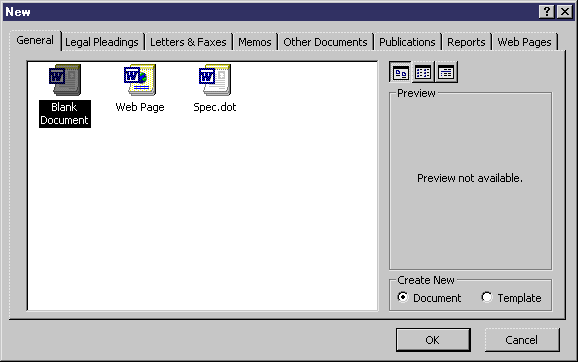
- Word opens with the New dialog box:
- In the General tab, click Blank Document or a template icon (with a .dot extension - you might want to use a template for predefined Word heading styles), and click OK.
- The Save As dialog box opens. Select a directory and enter a file name for the document, and then click Save.
-
The Export Table Mapping dialog opens. You can choose to:
-
Export composite requirements as headings and subheadings, or
-
Export composite requirements as table rows – you can additionally select which properties to export in this mode, by selecting or deselecting the checkboxes to the left of the list, and the titles of table columns by editing the text in the Table Header column.
-
- Click OK to begin the export. The requirements are written to the document. Each requirement is placed between a [PDRQM] tag with a unique ID to indicate its start, and a [/PDRQM] tag to indicate its end:


