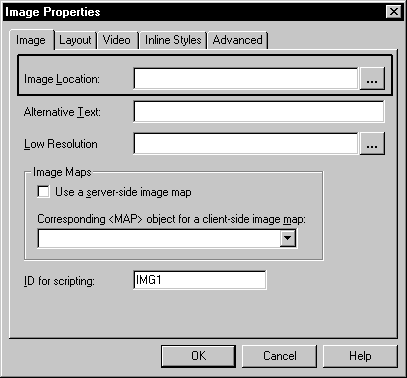
You can insert images in both Page view and Source view of the HTML Editor. You can define attributes for the inserted image in the Image Properties dialog box.
Image properties page |
IMG element attributes definable through user interface |
|---|---|
Image |
SRC, ALT, LOWSRC, ISMAP, USEMAP, ID |
Layout |
ALIGN, WIDTH, HEIGHT, HSPACE, VSPACE, BORDER |
Video |
DYNSRC, CONTROLS, START, LOOP |
Inline Styles |
All inline style attributes (see Chapter 4, “Working with Style Sheets and Framesets”) |
Advanced |
All attributes and attribute values you want to set for the image object |
![]() To insert an image:
To insert an image:
Put the insertion point where you want to insert the image.
Select Insert>Image from the menu bar.
The Image Properties dialog box displays.

Click the Browse button (...) to select an image file using the URL Picker
or
Type the URL for the image in the Image Location text box.
Set other image attributes as needed, and click OK.