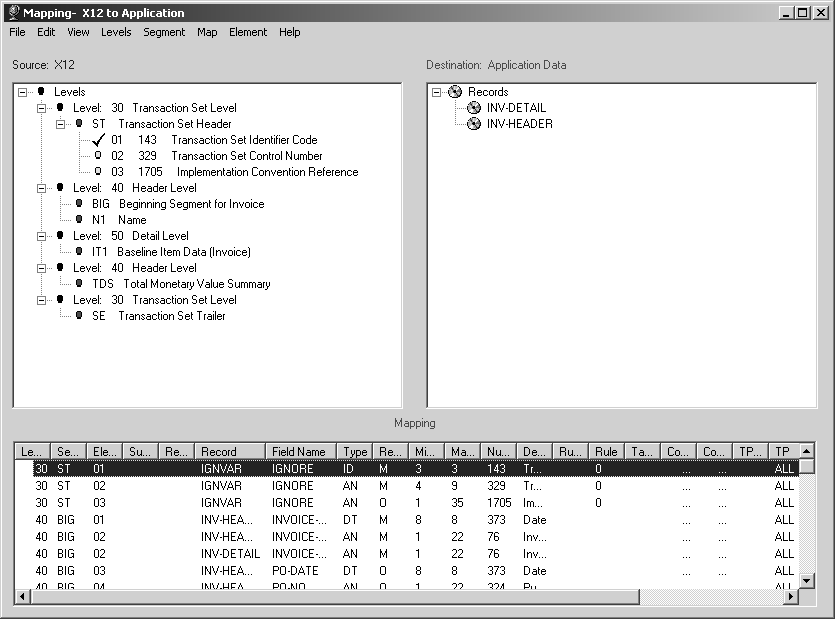
On inbound transaction maps, Source: <Standard> data is on the left side of the window and Destination: Application Data is on the right.

You can access element-related actions on the Mapping window in several ways. You can highlight an element and use the Element, File, or Edit menu at the top of the window, or you can right-click an element and choose from the drop-down list that displays. Some actions are available by only one of these methods, while others can be performed in more than one way.
When you right-click an element in the Source: <standard> data section, a drop-down list gives you choices of:
Mapping the element to a field in the output application record
Mapping the element to a memory variable
Mapping the element to a special memory variable called a conditional variable
Copying mapping from one element to another
Adding element codes to an element
Ignoring the element
Automatically creating a field in the output record based on the element: associating a rule with the element
Linking the element to a cross-reference table
Attaching a condition to the element; making the element trading-partner-specific
Entering notes for the segment. (Constant is grayed out because it is not an option for elements in an inbound transaction map.)
When you highlight an element and use the Element menu, you have some of the same choices that the drop-down list gave you, as well as one additional choice.
However, from the Element menu, you cannot map the element or use the element to automatically create a field in the output. You can associate a rule with the element; link the element to a cross-reference table; attach a condition to the element; make the element trading-partner-specific; and enter informational notes for the element.
You can also:
Create and insert into a segment a simple copy of an element
Create and insert into a segment a copy of an element that includes all associated mapping, rules, cross-reference tables, and associated conditions
Delete an element from a segment; update mapping for the element to include any changes that have been made to a record field or memory variable since the element was mapped
Make the element mandatory
Zero-fill the data in the element, justify it, or truncate it; save the contents of an element and paste it into another element.
When you highlight an element and use the File and Edit menus at the top of the Mapping window, you have some of the same choices and one additional one.
When you use the:
File menu – you can create and insert a new element.
Edit menu – you can create and insert a simple copy of an element, create and insert a copy of an element with all associated mapping actions, or delete a segment. In addition, you can search for an element.