![]()
![]()
![]()
![]()
In this tutorial, you will create a BusinessObjects drill-down application that you can deploy to your mobile device. You are creating a BusinessObjects application using a Web Intelligence report.
![]() Creating the BusinessObjects Web application
Creating the BusinessObjects Web application
From Mobile Web Studio, select Applications in the left pane, select New in the Application Manager Status menu, and click the New button to launch Application Builder.
Click the down arrow to the right of Add, and select Web Element.
In the New Web Element window:
In the Address field, enter the BusinessObjects InfoView URL. For example:
http://hostname.domain:port/businessobjects/enterprise11/desktoplaunch/InfoView/logon/logon.do
For example, if your machine name is “lab2k”, your domain is “sybase.com,” and your port number is “8080,” enter:
http://lab2k.sybase.com:8080/businessobjects/enterprise11/
desktoplaunch/InfoView/logon/logon.do
Select Advanced Navigation.
Click Go.
When the BusinessObjects Login page loads, enter your BusinessObjects XI user name, port, and password. Accept the defaults for System and Authentication.
Click Log On.
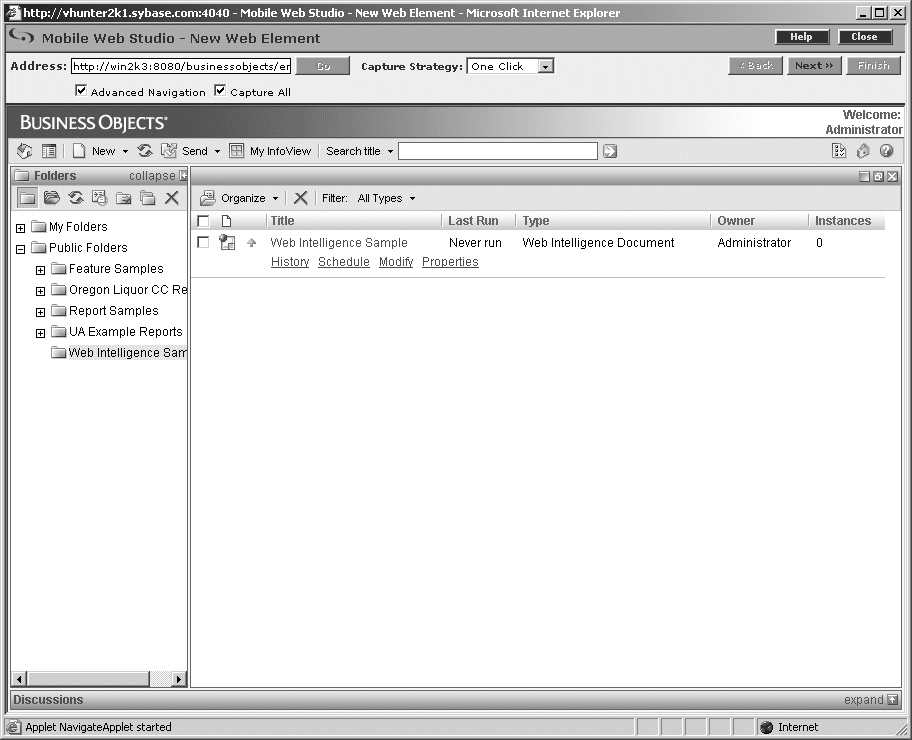
In the left pane of the BusinessObjects window, expand the Public Folders by clicking on the +. Expand the Web Intelligence Samples folder, and click on Web Intelligence Sample in the right pane to open it.
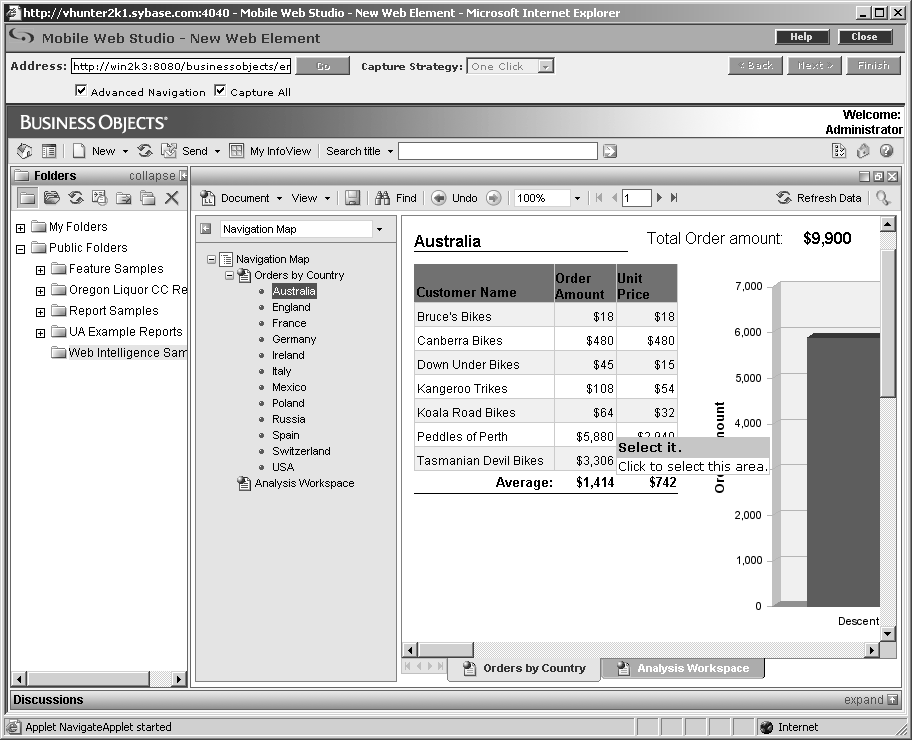
Figure 6-1: Web Intelligence report
Open the Navigation Map and select the report you want to mobilize. From the Capture Strategy drop-down list, select One-click.
Click Next.
Place the cursor over the area of the report you want to mobilize. When you see the floating yellow box with the Select It message, click the mouse.
In the next window, select “Rewrite CCL Using a Predefined Template,” then, from the drop-down list, select Use BusinessObjects XI Template.
Click Apply.
The New Web Element displays various selectable areas. Click the Select button next to the area you want to mobilize.
When the Select button is highlighted, click Next.
In the Define window, in Define Record Layout, select Records Contain Labels. Click Next.
In the Filter window, click Next.
In the next window, in Element Name, enter a name for the application. Click Finish.
In the Application Builder, click Save.
On the Finish window, make these entries (otherwise accept the defaults):
Roles tab Click Add All to add all roles to this application.
Mobile tab Select Make Available to Disconnected Mobile Devices.
Click Finish to save the application, then click OK to confirm.
Click Close in the upper-right corner to close the Application Builder window.
When you return to the Mobile Web Studio main window, select New from the Application Builder Status menu. The new BusinessObjects application displays in the detail pane.
In Mobile Web Studio, right-click the application you just created in the detail pane, and select Approval Status | Approved.
Click OK.
Select Approved from the Application Manager Status menu. You see the newly approved application in the detail pane.
You can now deploy the BusinessObjects application to your mobile device following the procedures outlined in Chapter 11, “Deploying Applications to BlackBerry Devices,” and Chapter 10, “Deploying Applications to Mobile Devices.”
